So you have a slow blog? It can be very frustrating to find your blog loads too slowly, and traffic suffers as a consequence. Today I will talk about exactly how to speed up your WordPress blog with a plugin called WP Rocket.
If you’ve arrived at this post, you probably already know how crucial the speed of a website is for a successful business. Google now ranks sites based on loading speed. Owners of slow sites will find themselves drifting down the rankings, and nobody wants to see that.
Today we are going to talk about how to use WP Rocket to speed up your site. After installing and configuring WP Rocket, I guarantee you will see a huge uptick in loading time.
I have to tell you though, that adding a caching plugin is one part of the puzzle. There is more you can do. If you have too many big images on your site, for example, a caching plugin won’t fix that. I have a complete post here on everything you can do to get a fast site today:
This is a must-read: 15 Super Easy Ways To Speed Up WordPress Today
WP Rocket is a premium plugin. While there are free caching plugins available too (WPSuperCache is one), for something as crucial as the speed of your WordPress website, I would only ever go for a premium plugin.
Why? Well, buying a premium plugin means you get priority support. It is usually updated regularly, and the quality is far more likely to be higher when the development team is sponsored.
How does caching work?
Without getting too technical, let me explain that WordPress runs on a programming language called PHP and a back-end database where it stores all your blog posts.
Every time you open a page on your blog, some PHP code has to be run, and the database queried. Some HTML code is produced (code that can be understood by a browser), and the user is then able to see the blog post.
That all takes a bit of time.
If a caching plugin is present, like WP Rocket, the HTML is saved as a physical file on the webserver. The next time that same page is requested, WP Rocket will grab the HTML file instead of asking WordPress to run some PHP again.
This method is much much faster.
With that out of the way, let’s find out how to install and configure WP Rocket and get your website cooking on gas!

Headsup: WP Rocket is so easy to install and configure, I hardly need to write a tutorial on it!
Let’s get a baseline first
It’s always good to compare before and after results, and very satisfying when you know how much improvement there is!
In this step, we will find out just how fast your blog is currently.
There are a couple of sites I like to use for this:
The GTMetrix tool seems to be the easiest one of the two to use. If you make an account at GTMetrix, you can test your site from various locations. Keep in mind that your site will appear fastest when tested from a server that is closest to where it is hosted.
I recommend that you only ever test from one location, that way you compare like with like.
When you get your ‘before’ result, make a note of the numbers or take a screenshot.
Install the WP Rocket Plugin
If you don’t already have a copy of WP Rocket, you can purchase it here.
- After sign up, you will see a green ‘Download’ button under the Licences tab, and from there you can download the plugin to your computer.
- Now, go to Plugins->Add New and click the Upload Plugin button
- Click Choose file and select the file (wp-rocket_xxx.zip) you downloaded earlier.
- Click Install Now
- Click the blue Activate Plugin button.
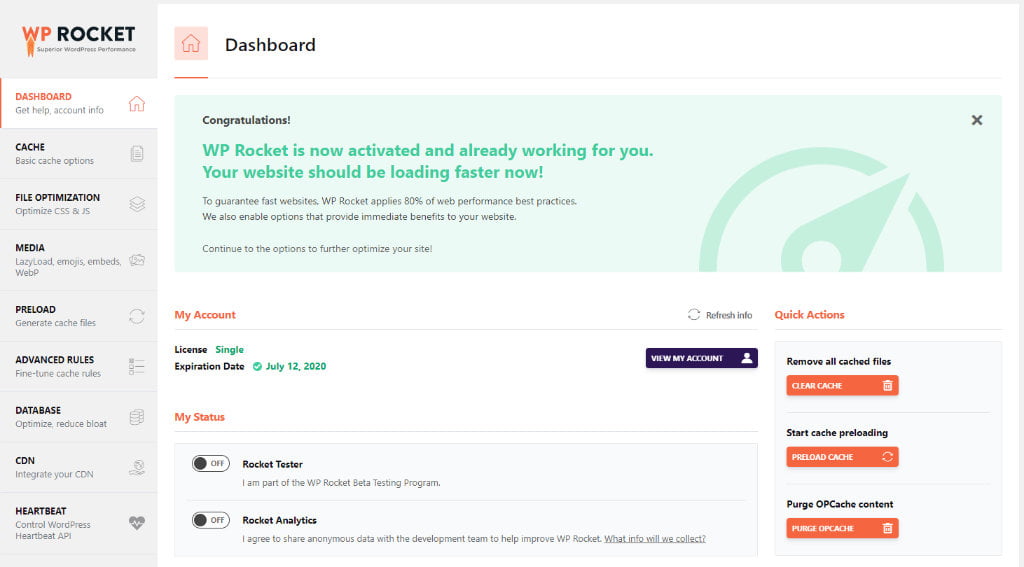
After activation of the plugin, caching is immediately active, and configured using the most common settings. It is amazingly simple!
Go to Settings->WP Rocket, and you will see that it is already working.
You should find now that when you log out of your site, your blog is running a whole lot faster, in-fact it should be zipping along!
Remember that you must be logged out to see the difference. WP Rocket does not serve cached pages to users who are logged in.
Retest your blog speed
The next step is to retest the speed of your site with the same tool you used earlier and from the same location. You should see a big difference. Note down the new numbers.
You could leave it there, but before we call it good, I highly recommend you make a few more simple tweaks.
Configure WP Rocket caching plugin
When WP Rocket is first installed, it will make some default settings which apply to 80% of cases.
There is a little more you can tweak, one thing in particular.
WP Rocket recommends, and this is very good advice, that you only change one setting at a time, so in the event of there being a problem, it is easier to diagnose.
Also, you should do a speed test before and after any changes. You may find that there is no effect on the loading time at all, so it there is really no point in doing it.
You can access the settings for the plugin at Settings->WP-Rocket
Let’s go through the configurations that I think are the most beneficial.
Lazy loading of images
Lazy loading is something that I always add to sites, the benefit is huge.
What is lazy loading?
A website without lazy loading will request and load every single image on a page even if it never actually appears to the user until they scroll down.
An image positioned at the bottom of a page, for example, might never display, but it still has to load up and therefore contributes to the overall loading time.
A website with lazy loading will only load images that are currently in view, logical right?
As a user scrolls down a page, images load on an as-needed basis. The effect is imperceptible to the user.
How to configure lazy loading of images using WP Rocket
- Open the WP Rocket settings ( Settings->WP Rocket)
- Click on Media
- Click on Enable for images
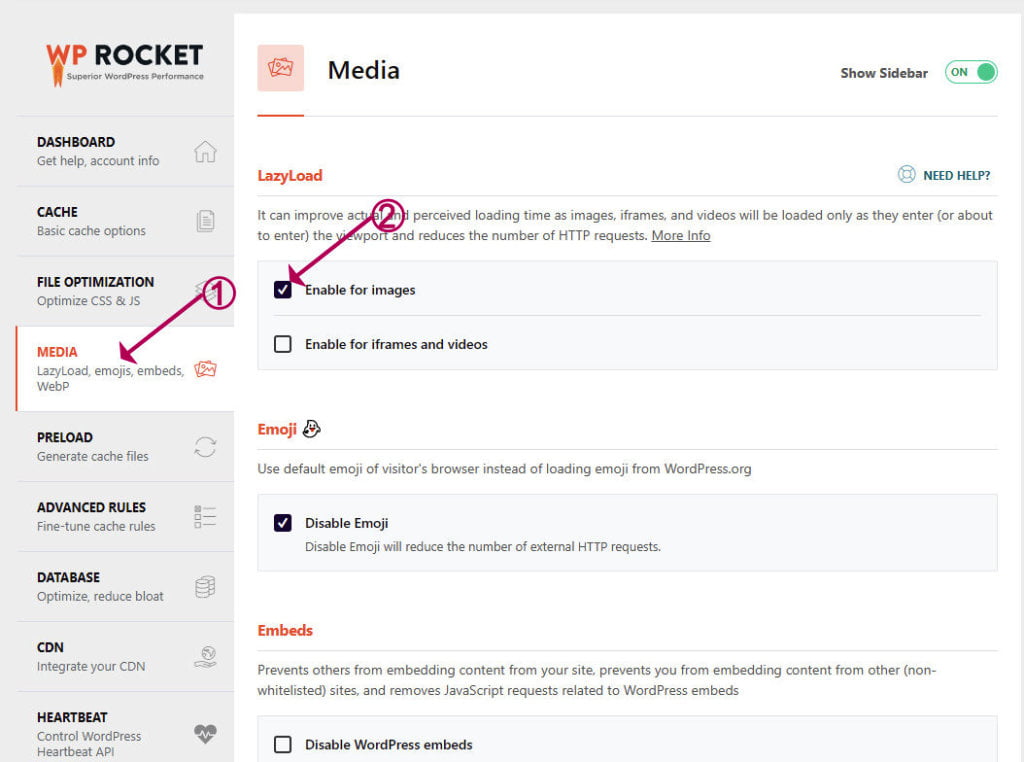
- That’s it!
Now log out or open an incognito window (SHIFT+CTRL+N)
You should find that your website images appear as normal.
Other things to tweak
Lazy loading of images was the main speed improvement we can make. There are other things that could make a difference too, but you would need to test them as you go.
In the File Optimization tab, you have the option to minify and combine CSS and JS files. These files style the HTML and to make it more functional.
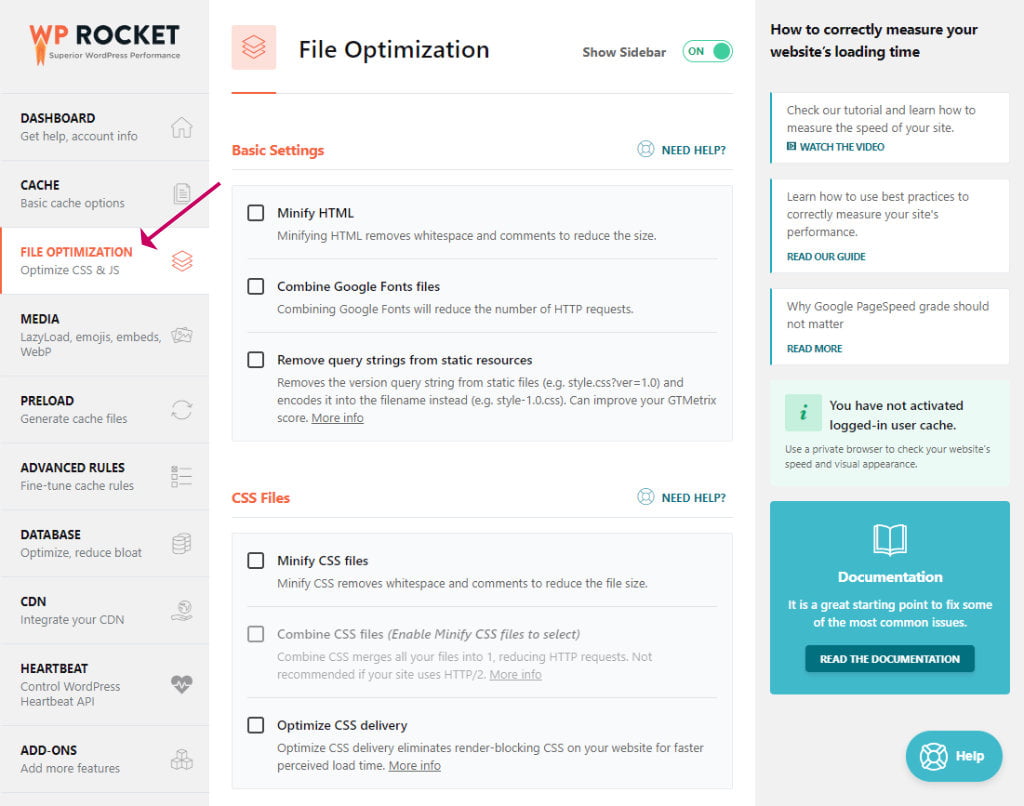
File optimisation can improve loading speed, but if you switch on any of these options you should always test out your site afterwards and of course, check that there is an actual speed benefit by running a test.
Combining files can cause some pages not to display correctly, and you could find functional problems, i.e. slideshows and popups not working correctly, so always test these out.
How to clear the cache
You don’t usually need to be concerned about clearing the cache files. WP Rocket will refresh the cache automatically as pages and post are updated.
If you find you need to clear the cache, head up to the toolbar and click WP Rocket->Clear Cache
My host already has caching, can I still use WP Rocket?
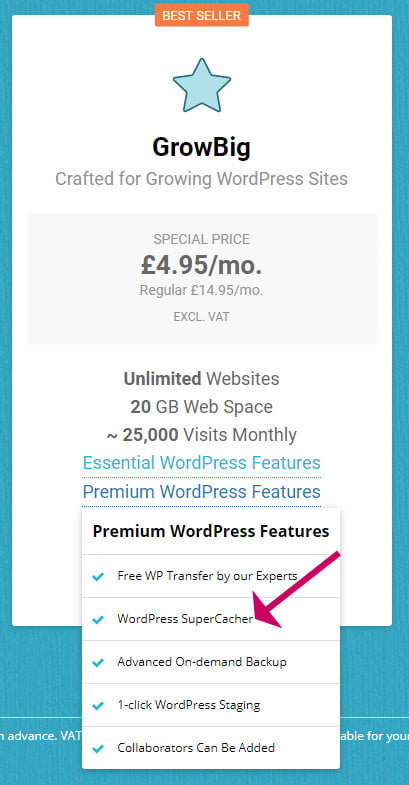
Some hosts include their own caching solution with a hosting plan. Siteground’s Grow Big plan, for example, includes their proprietory caching solution called WordPress SuperCacher.
You can install WP Rocket alongside Siteground’s caching solution and the two will work perfectly together and should speed up your site even more.