Disqus is a networked community platform that you can use as an alternative commenting system to the native system that WordPress provides. Disqus allows your readers to comment on posts and pages using their Disqus account, thereby creating a mini chatroom around the subject.
First, let’s look at the pros and cons of using Disqus comments on your WordPress blog.

Disqus Pros
Disqus can take the pressure of processing and storing comments away from your website. If you have a large site, the savings in storage and not having the overhead of processing mountains of comments can be considerable.
Disqus has a comprehensive spam detection system. Spam detection can help with moderation. Vanilla WordPress does not have this; you must use the Akismet plugin, which isn’t free for commercial sites.
It is free (but only if you accept ads). You must allow Disqus to show ads amongst your comments. If you don’t want to display ads, the next cheapest is the Plus plan for $9 per month.
Disqus Cons
Users must create an account. Having to create an account may put some people off commenting. At the same time, this could be seen as an advantage because a commenter’s reputation within the Disqus network comes into play.
Disqus can slow down your site on pages where there are a lot of comments. To speed things up you can ‘lazy load’ comments, so they appear only when a user scrolls down, but to do this, you will need to install the Disqus Conditional Load Plugin instead of the official Disqus plugin, but, this option could affect your SEO.
Could hurt your SEO. Disqus claims that ‘lazy load’ is ignored if it detects a search bot, thereby allowing all comments to be indexed, but this method may not be foolproof.
Do I have to moderate Disqus comments?
The short answer is ‘yes’. You can opt to publish all comments automatically without passing moderation, but if you do that, spam will get through. Disqus has anti-spam software, but more persistent, canny spammers may get through never the less. For this reason, it is a good idea to switch on moderation.
How do I enable Disqus Comments on my WordPress site?
There are two main steps, 1) set up an account with Disqus, 2) Install the Disqus plugin and set it up.
1) Set up a Disqus account

Click ‘Sign up‘ and on the next screen click ‘I want to install Disqus on my site‘.

Enter the name of your site, not be the full URL address, just the name. As you type, you will see your Disqus URL form. Keep a note of your Website Name (also known as the short name) as you will need it later.
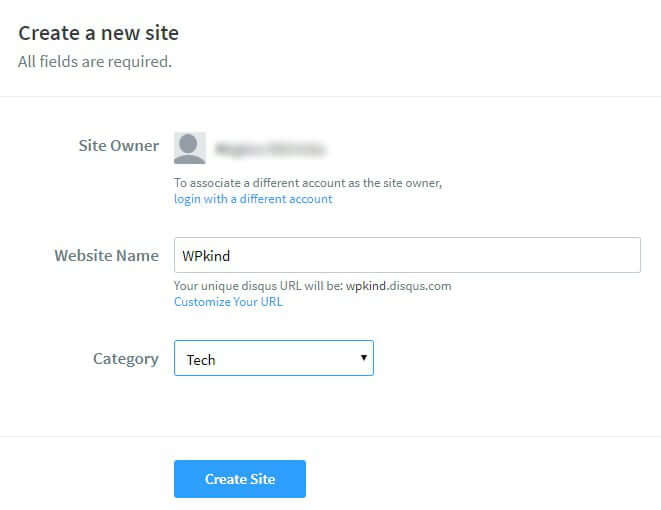
The last step is to select a plan. Choosing the free plan means you must allow ads to appear amongst your comments. If you are not comfortable with that, pick the plus option which is $9 per month.

Then pick WordPress from the platform list.

Check your email. You should find an email from Disqus with a ‘Complete Installation’ button. Click the button and then account creation is complete.
2) Install the Disqus plugin
Go to ‘Plugins‘->’Add New‘ and search for ‘disqus’. The ‘Disqus Comment System‘ plugin should be the first one on the list. Click ‘Install Now‘ and then ‘Activate‘. Here is an article about how to install a WordPress plugin if you need more help.
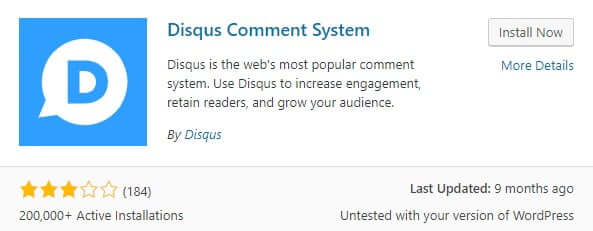
Once activated, you should see a new ‘Disqus‘ tab on your admin screen where you can set up the plugin.
Now you have two options. The first option is an automatic setup, which you should use if you want to sync Disqus comments with WordPress or import existing comments to Disqus. The second option is the manual one which is best if don’t need syncing. My advice would be to choose the second automatic option. Syncing allows you to go back to WordPress comments easily without having to import back to WordPress manually, should you decide to later on.
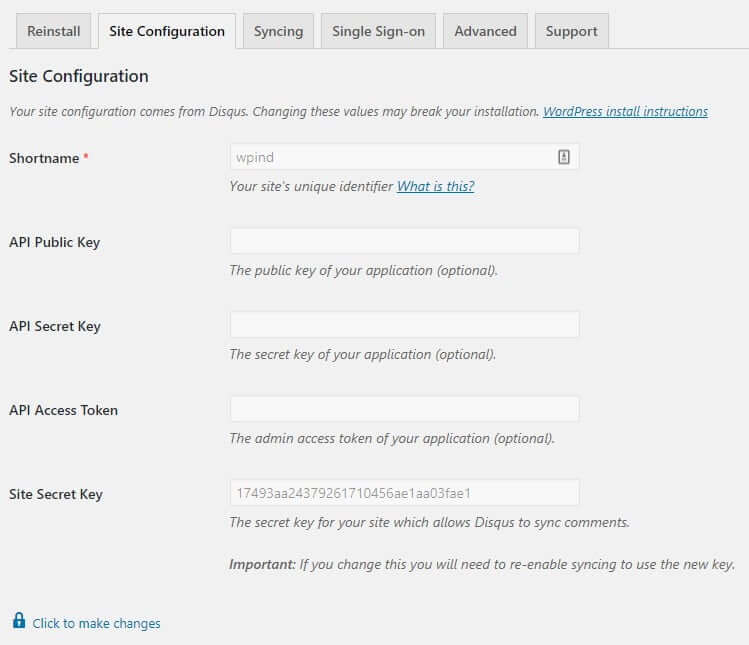
For the manual method, click on the ‘Site Configuration‘ tab and from there you can enter your Disqus short name you noted earlier. Save your changes, and that is it, Disqus comments should now show at the bottom of posts instead or WordPress comments.
For the automatic method, go to the first tab and click ‘Yes‘ and then ‘Yes‘ again to say that you have a site registered on Disqus.

Start the automatic installation by clicking the ‘WordPress installation page‘ button, logging in to Disqus if prompted.
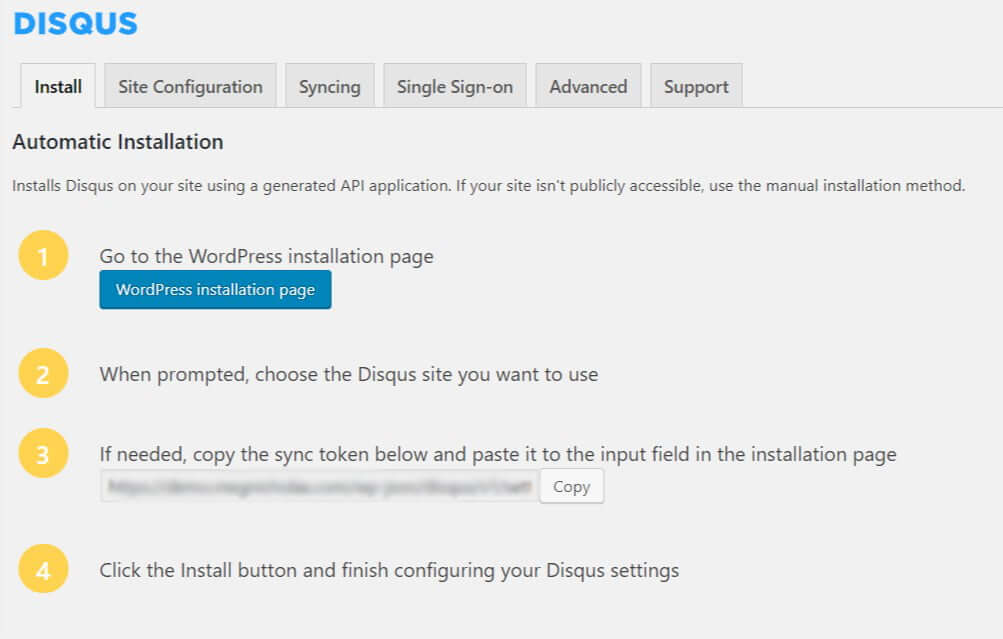
Choose your site from the presented list, and you should arrive at this screen:
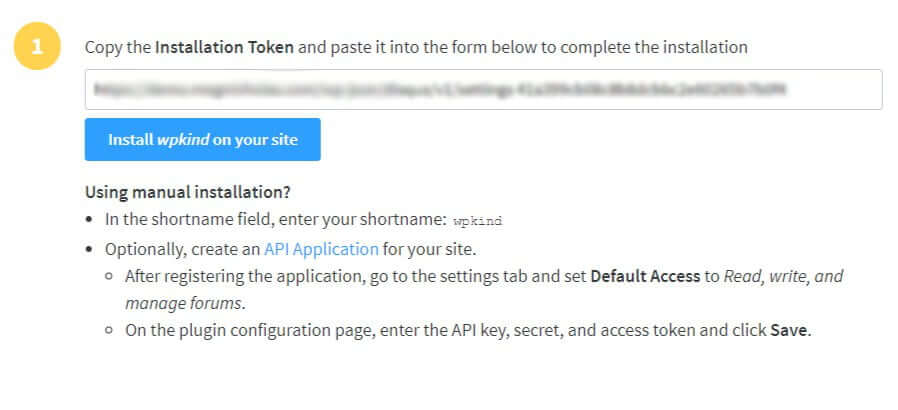
Click the blue ‘Install …‘ button to complete the installation.
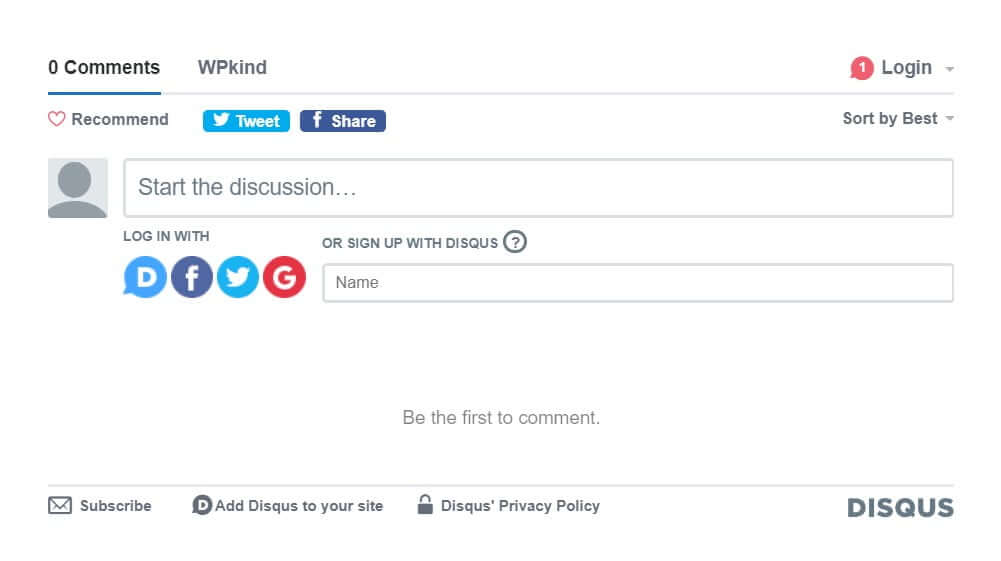
Check Disqus it is working by viewing a post where you have comments turned on. You should find Disqus in place of WordPress comments.
To enable syncing comments with your WordPress database and to import your existing comments head over to the ‘Syncing‘ tab. From there you can turn on ‘Auto Syncing‘ and ‘Import Comments‘.
How to switch back to WordPress comments
If you have Disqus comments set up on your WordPress site and you want to go back to WordPress comments, deactivate the Disqus plugin, and WordPress comments will resume.
If you didn’t have Auto Syncing set up, then you can manually copy the Disqus comments back to your site. Before you deactivate, go over to the ‘Syncing’ tab and click the link ‘Manually Sync Comments‘. Select a date range, and the comments will be copied to back to your site. The last time I did this, however, the dates of all the comments were reset to the date of import, so be aware of that.
If you want to go further and disable WordPress comments completely see my post here.


