If you were to lose every single article you ever published on your WordPress blog would it be a disaster? I am guessing the answer is likely to be a resounding ‘yes’!
There are several reasons why you must keep a WordPress backup:
- There is a problem with your hosting account, and you need to rehost elsewhere – quickly
- You make a mistake and delete posts you didn’t mean to
- Your site gets hacked (find out more about security)
- A WordPress update causes a crash
Don’t have time to do this yourself? Or perhaps it all seems too technical? Don’t worry! Let me help you out.
Can WordPress backups be taken easily?
The good news is that setting up a WordPress backup is a trivial job, even for beginners. After the initial set-up, the best backup plugins make the task a ‘set and forget’ affair.
What is the best way to take a WordPress backup?
I recommend using a plugin, UpdraftPlus, for the job. UpdraftPlus will backup up your whole site, code and database and pop it up to a cloud storage area of your choice. It even has proprietary cloud storage to save you having to bother with keys and permissions.
Can WordPress backups be taken for free?
Yes, the free version of UpdraftPlus allows you to set up a regular back up to a cloud service such as Dropbox, Amazon S3 or Google Drive, all for free.
With an add-on, you can connect to additional cloud services such as OneDrive and Google Cloud, or you can subscribe to Updraft’s own cloud backup service called UpdraftVault.
Is it easy for beginners to take backups?
If you are comfortable installing a plugin, then you should have no problems setting it up.
How do I take a WordPress backup with Updraft?
Start with installing the Updraft Backup plugin. Go to Plugins->Add New, then type ‘updraft’ in the search box and it should appear first in the list.
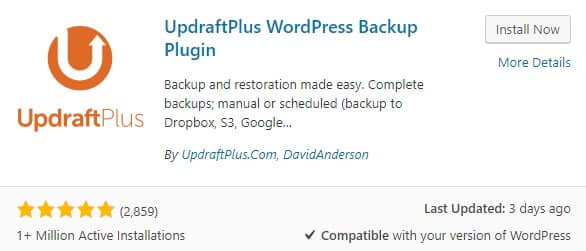
Click Install Now then click Activate.
Updraft has a wizard to help start you off. If you see this box first, then click the blue button to begin, or select Settings->Updraft Backups if it doesn’t appear.

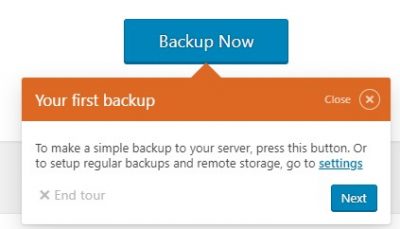
Go ahead and click Next.
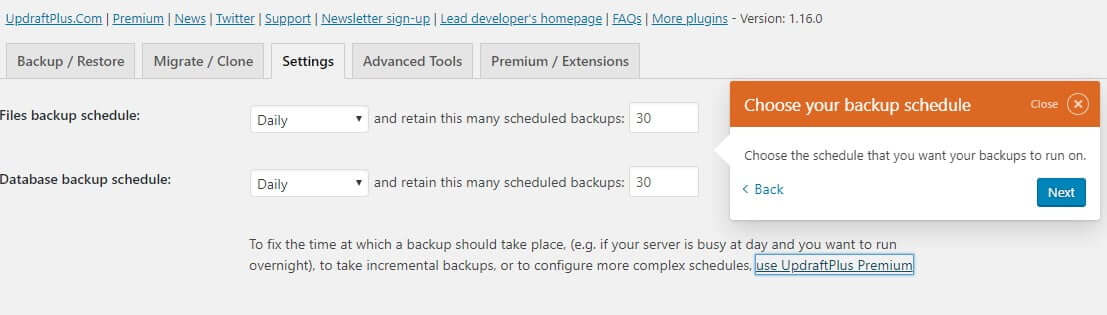
Change the backup schedule option to anything other than Manual.
If you stick with Manual, you will have to remember to take backups yourself, never a good idea!
Pick a schedule period that most closely aligns with how often you post, taking into account the number of comments you usually have.
Select how many backups you wish to keep.
Click Next to carry onto the remote storage options.
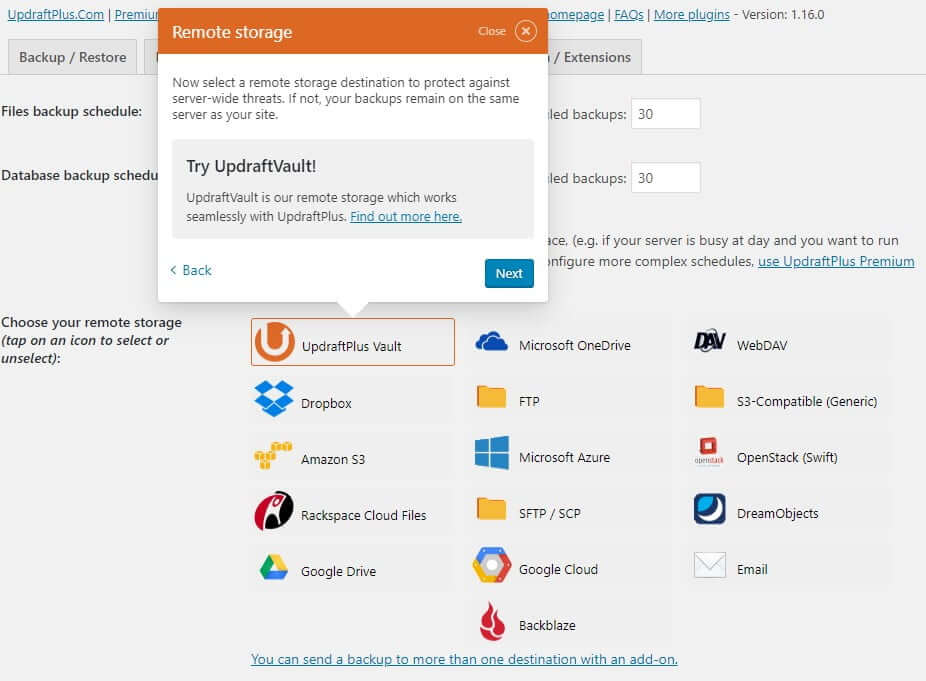
Updraft is keen to push its proprietary remote storage option called UpdraftVault. I have not tried this service. It isn’t a free service, but if you don’t want to fill up your Dropbox allowance with backups and you don’t want to buy an add-on, it could be a good solution.
For this tutorial, I will select Dropbox as this is available in the free version of the plugin. You can choose any other remote storage provider, but many of them require you to buy an add-on.
Now save your settings using the big blue button at the bottom of the screen.
After that, this prompt should appear.
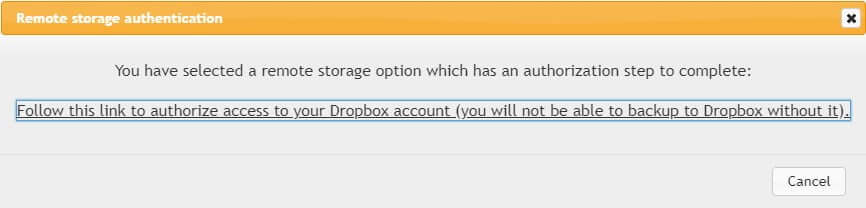
The next step is to authorise the Updraft plugin to use your Dropbox account.
If you don’t see the above message, click the link next to Authenticate with Dropbox to start the linking process. From there you will be able to link your Dropbox account with WordPress.
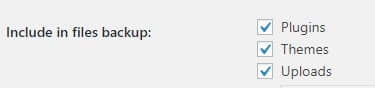
The last step is to decide which files you want to include in the backup. It is advisable to keep the first three options checked at least.
How do I use the Updraft backup to restore my site?
To restore an Updraft backup go to the Backup/Restore tab.
At the bottom of the page, you will find a list of recent backups.

Tick the one you want to restore and then click the blue Restore button. Then choose which elements of the backup to restore.
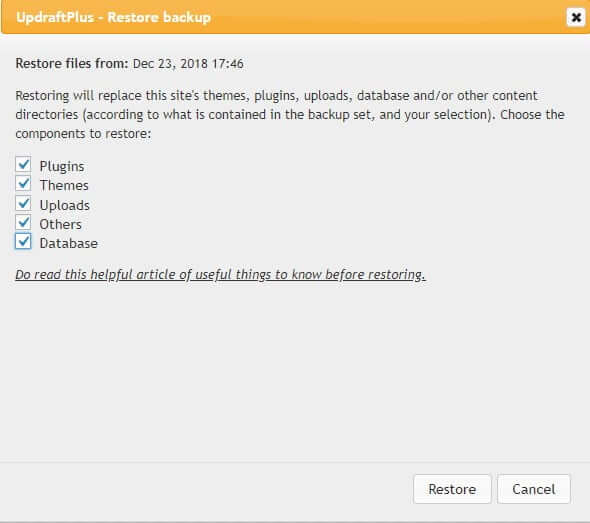
Click the Restore button and click again when prompted.
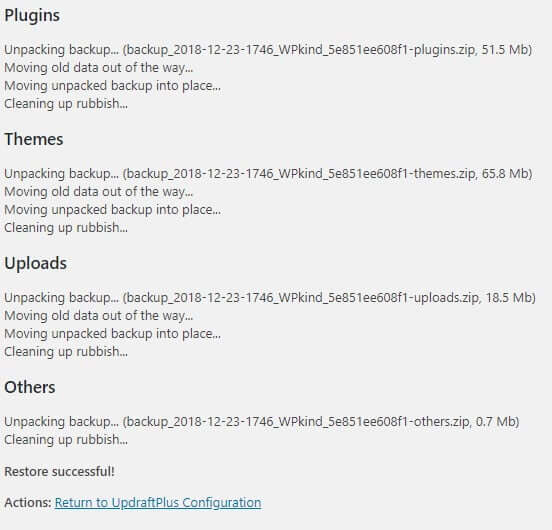
Do not click anywhere else until Updraft reports that the restore is complete.
Don’t be alarmed if you get a blank screen for a while.
When it finishes you should see this at the bottom of the screen.
Wrapping up
In this tutorial I have shown you how to take a backup with the Updraft plus plugin and how to restore your site from a previous backup.
The important thing to remember is that taking a backup is essential. You can’t rely on your host to take one.


