I would like to share with you my new favourite plugin for cookie notices and consent.
As you might know, I am always on the lookout for lightweight plugins that don’t add bloat and do the job they set out to do sweetly and efficiently.
I love this one, because it is so easy to set up, and, well …. it just does the job!
Why you need a cookie notice plugin
In the EU it is the law that you must not save cookies to a site visitor’s browser unless they give you their permission. The same law will likely come into force in other countries if it hasn’t already, so it is just as well to comply now.
Also, you can’t be certain which country your visitors come from, so you must apply the consent to everyone.
Video – How To Add A Cookie Notice To Your WordPress Blog For FREE
Don’t have time to read? Check out my video instead.
How to install and setup the Cookie Notice plugin in WordPress
Video – How To Add A Cookie Notice To Your WordPress Blog For FREE
- Go to Plugins->Add New
- Search for Cookie Notice and the plugin by dFactory should come up near the top
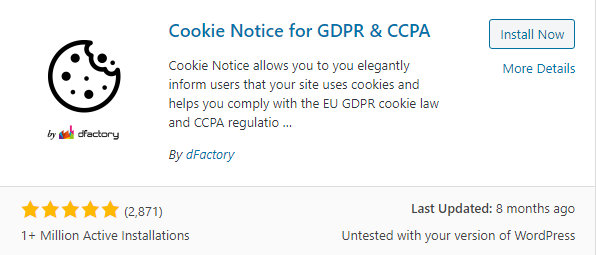
Alternatively, download the plugin from here and then upload it to WordPress (Plugins->Add new->Upload Plugin)
If installing plugins is new to you. See my handy guide here – How to Install a WordPress Plugin.
How to install and setup the Cookie Notice plugin in WordPress
Once you have the plugin installed you should find its settings under Settings->Cookie Notice.
There are quite a few things you can tweak, but the plugin very helpfully sets up some default settings which will be fine in most cases.
Here are some things you might want to tweak:
- The message displayed to your website visitors
- Add your Privacy policy link. Don’t have a privacy policy? Here is how.
- Change the Accepted expiry. You might want to set this to more than a month.
- Change the button colour.
- Set the option to Refuse consent
- Add your analytics script (see step 3)
Step 1 – Install the plugin
If you use this plugin in it’s most basic form, then you are not fully compliant in terms of cookie consent.
Strictly speaking, you should not save cookies to your user’s browser unless they give consent. When they agree, only then should you save the cookie.
Fortunately, this plugin lets you add scripts such as your Google Analytics script which will only get loaded up once you have consent.
Here is how to do it for Google Analytics, the process will be the same for the Facebook pixel, or any other tracking script you have on your blog.
- Grab your Google Analytics tracking script. If you don’t have analytics, here is how to get it.
- Add it to the script box.
- Remove the script from elsewhere in your blog.
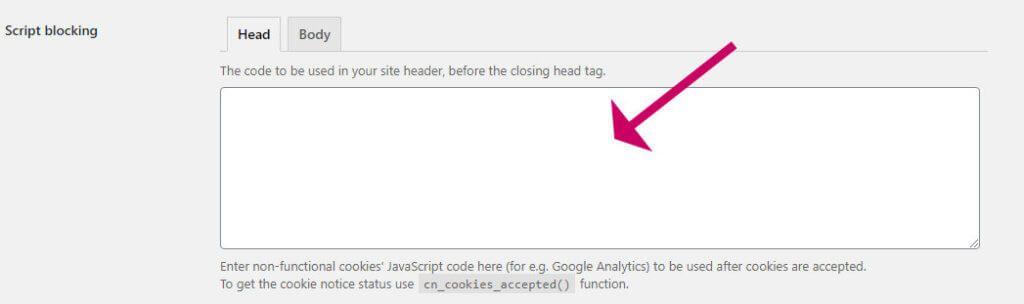
Number 3 is very important to check!
You only want to have any tracking script appear once on your blog. Otherwise, you will have double-counting occurring which can be very demoralising once you realise it has happened.
Places to check would be the Header Footer plugin if you use that, or any plugins you have installed that allow you to add scripts. Another place to check would be your theme options.


