In today’s tutorial, I will be sharing how I added a simple about me section to my WordPress sidebar using a WordPress widget. This is very easy to do, even for complete beginners.
It is a great idea to have a small section somewhere on your site dedicated to who you are. In this tutorial, we will be adding the about section to the sidebar, because very often the sidebar is on every page.
People like to see that there is a real, relatable person behind your blog to get to know. If you have a picture then do add it along with your bio, even if you don’t consider it to be your best, you can always change it up later when you are feeling a little more photogenic, I’m still waiting for that moment!
Here is what we are aiming for:

To do this, we will be using the standard Text Widget that comes with WordPress, so no new plugins to install yippee!!

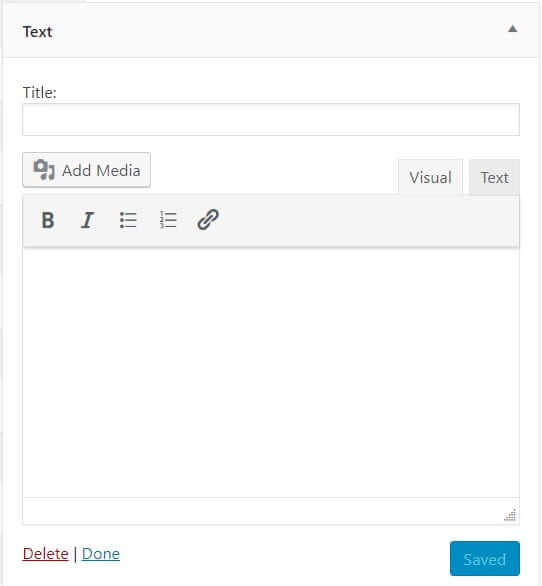
Step 1 – Add the text widget to your WordPress sidebar
- Go to Appearance->Widgets.
- You should see a widget called Text Editor.
- Drag the Text Widget to your sidebar, or click it and, select where you want it to go and then click the Add Widget button.
- The widget should then open for editing.
Step 2 – Edit the WordPress Widget
Once you have put the text widget on your sidebar, it should be open for editing. If not expand it by clicking.
- Add a title such as ‘Welcome‘.
- If you are going to add a picture of yourself click Add Media, then select your image from the media library or upload one if you don’t already have it uploaded.
- To centre the picture in the middle of the widget, click the image and then click the Align Centre icon.
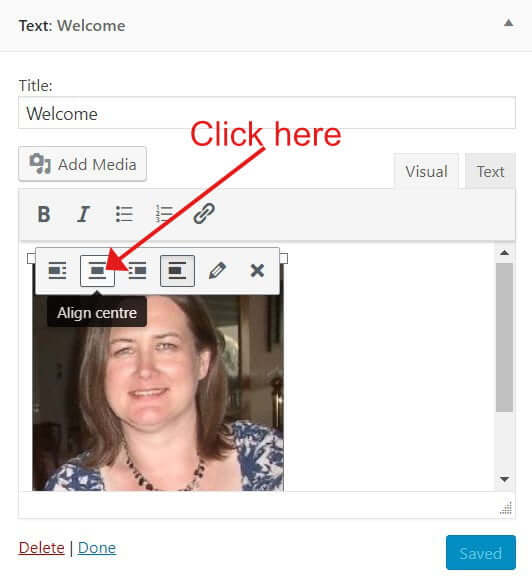
- Press the return key to start a new line, and then type your introduction text.
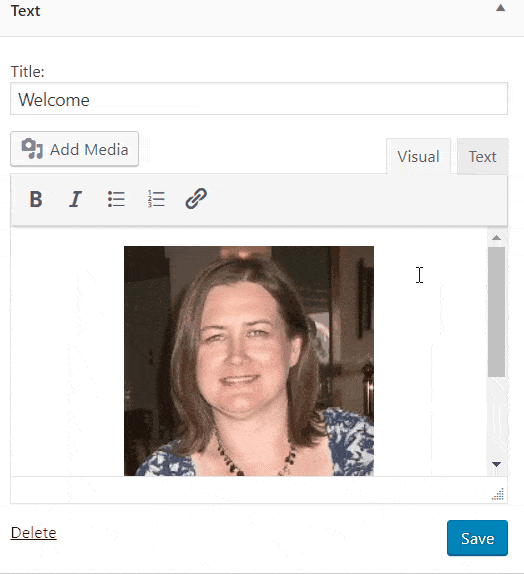
- Click Save.
Here is what I now have in my sidebar. You should have something similar, without my ugly mug of course!

Step 3 – Style the image (optional)
Now, you may want to do what I have done and turn your picture into a circle. It is slightly fiddly because you need to edit the HTML directly, but really it is quite simple to do! Here’s how:
- Go back to Appearance->Widgets and find the text widget you just added
- Click the widget to expand it
- Click the Text tab to view the HTML
- Insert some styling for the image by adding style=”border-radius: 50%” after <img. Here is an example:
<img style="border-radius: 50%" class="size-full wp-image-1829 aligncenter" src="https://wpkind.com/wp-content/uploads/2019/03/wpkind-profile.jpg" alt="" width="200" height="200" />
- Click Save
- And voila the square becomes a circle!
Wrapping up
In this short tutorial, we have added a little about box to our sidebar with a picture and some text. It is a great idea to put your face on your blog so people can relate to you, and this is a perfect way to do it! You could also put a link to your about page in the box too.
For more information on how to edit your sidebar:
How to Edit Your WordPress Sidebar With Widgets
Here is a great set of widgets that I always install on every WordPress site:


