TinyPng is the app I use to compress all the images on my WordPress website. I use it because the image compression I get with it is incredible.
TinyPng has an online app where you can compress individual images. This is the level of compression I got recently for one of my blog post’s social media image sets:
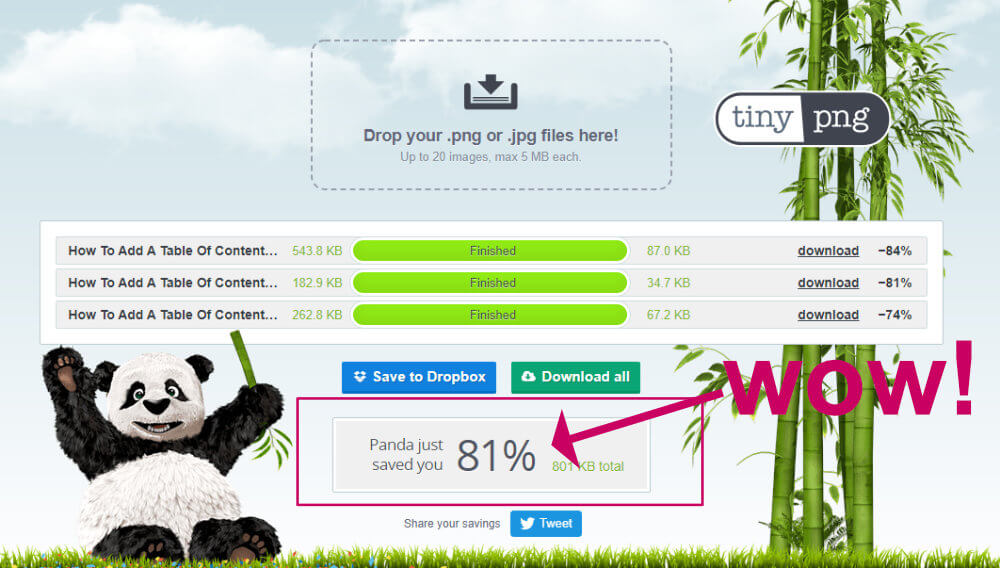
An overall saving of 81% is amazing. With this level of compression, over time you will save an incredible amount of web hosting space and blog posts will load up much faster.
Hang on, won’t the image be blurry with this level of compression?
No, because TinyPng uses smart technology to fool your eyes! Here is how TinyPng describes their compression:
TinyPNG uses smart lossy compression techniques to reduce the file size of your PNG files. By selectively decreasing the number of colors in the image, fewer bytes are required to store the data. The effect is nearly invisible but it makes a very large difference in file size!
TinyPng
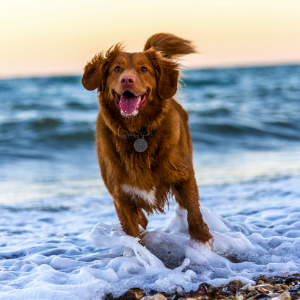
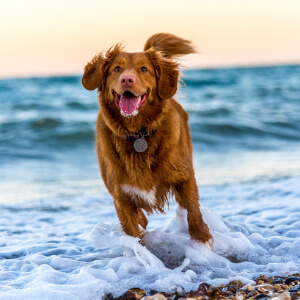
Here are two images, one of these is compressed with TinyPNG, the other is the original, can you tell the difference? I certainly can’t!
The TinyPng online app is great for ad-hoc use, but automatic is best. This is where their free WordPress plugin comes in.
Read on to find out how to install and use the TinyPng WordPress plugin, and get all your blog’s images automatically compressed.
Video – How to compress your images with TinyPng
No time to read? Check out my video.
Why compress your images?
There are a couple of very important reasons why you should compress the images on your blog.
- Smaller images make your blog posts load much faster. Having large images in your blog posts is the No.1 reason why web pages become slow to load, especially on mobile.
- You use less space on your hosting server. Save money by not having to upgrade your hosting plan so soon.
How to compress images automatically in WordPress with TinyPng
So that all the images you upload to WordPress are compressed automatically I recommend you install the TinyPng WordPress plugin.
When you register for an account you get 500 free compressions per month, which is enough for normal use. If you need more you can pay for a subscription.
Video – How to compress your images with TinyPng
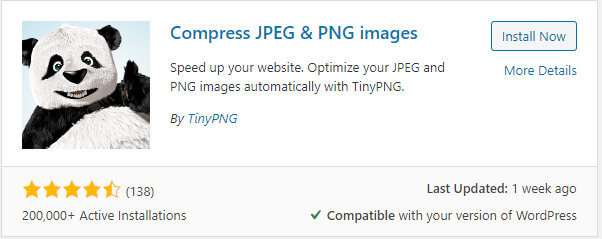
Go to Plugins->Add new and search for tinypng. The Compress JPEG & PNG images plugin should come up first. Click Install then Activate.
You can also download the TinyPng WordPress plugin here and upload it manually to WordPress.
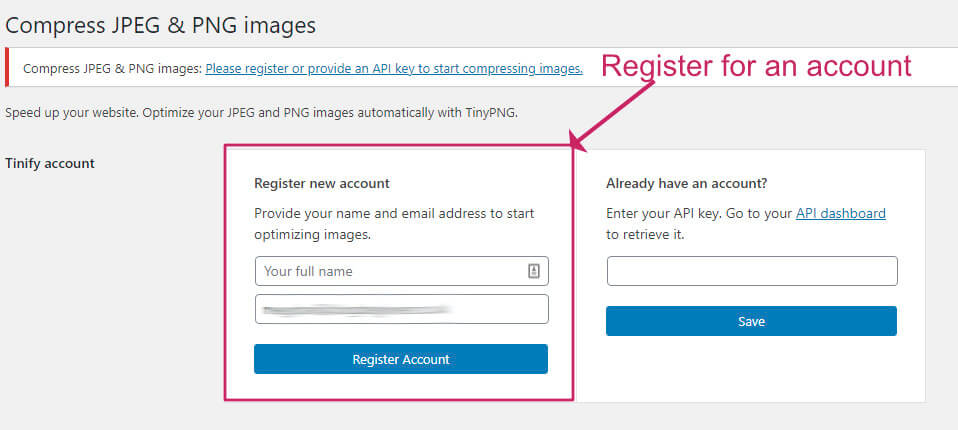
Why compress your images?
Enter your name and email address and click Register.
How to compress images automatically in WordPress with TinyPng
Check your email for a message from TinyPNG and click the button to activate your account.
Is TinyPng the best? – TinyPng vs Smush vs EWWW vs ShortPixel compared
Now you have the plugin installed and registered we can make some tweaks to the settings.
If you are not already there, go to Settings->Compress JPEG & PNG images.
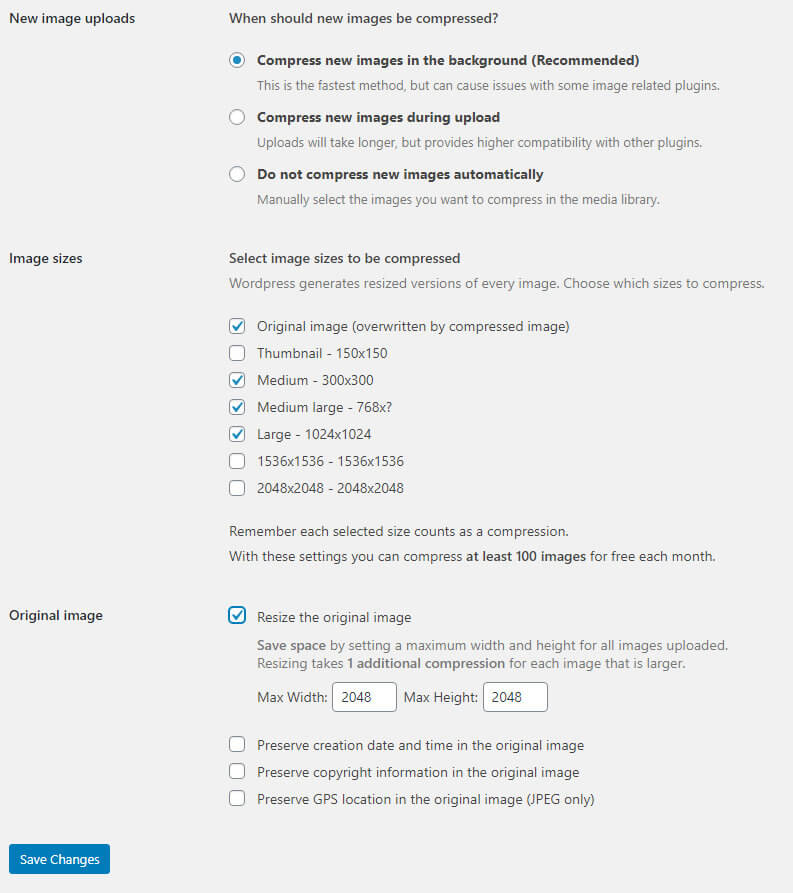
There are very few settings to make, here is what I recommend:
- Select Compress new images in the background (Recommended)
- In Images sizes only tick the sizes that you are likely to be using, otherwise, you waste your compression allowance.
- Select Resize the original image, that way the original image you upload is compressed too and you won’t waste server space.
Is TinyPng the best? – TinyPng vs Smush vs EWWW vs ShortPixel compared
I ran a test using a 1250px x 1250px image of 1,667kb in size. I uploaded the image to WordPress with each of the plugins enabled, and the size of each compressed image was recorded in the table below.
All figures are in kilobytes.
| Original 1250px X 1250px | Large 1024px x 1024px | Medium 300px x 300px | Thumbnail 150px x 150px | |
| No plugin | 1667 | 183 | 27 | 10 |
| TinyPng | 161 | 113 | 27 | 9 |
| Smush | 1667 | 179 | 26 | 9 |
| EWWW | 1628 | 179 | 26 | 9 |
| ShortPixel (Lossy option) | 66 | 50 | 17 | 5 |
As you can see TinyPng fares well against the competition. ShortPixel comes out the best at just 66kb for the original image, and 50kb for the large size.
When I compared TinyPng’s compressed image to ShortPixel’s, the quality was the same. There was no noticeable difference between the two.
One thing to consider when comparing image compression plugins is the price.
TinyPng gives you 500 free images per month and with ShortPixel you get 100. If you think you will need more than 100 compressions per month, and you want to keep spending down, then TinyPng is a good choice, because the compression is still very good when compared to Smush and EWWW.
ShortPixel’s cheapest plan is $4.99 for 5,000 credits/month. For that price, you could have every image on your blog optimized.
Wrapping up
I love TinyPng image compression because the setup is so simple and you get 500 free compressions per month. TinyPng does a better job than smush or EWWW, but ShortPixel can give you even smaller file sizes.


