In this short tutorial, I am going to help you get fast loading page times with a free plugin called ShortPixel.
Now, I’m going to let you into a secret! I wasn’t going to write this article at all, because I believed the best plugin for image compression to be TinyPng. It wasn’t until I compared the two plugins in this article, that I realised that ShortPixel is actually better at compressing images.
I still recommend TinyPng. In fact, I still use it on this blog, because, although the compression level is less, you can get more free compressions per month (500), compared to ShortPixel’s 100 free images. This website still loads up pretty fast none-the-less, so I’m not too concerned.
But, if you are in the market for a new image compression plugin then ShortPixel is the best of the bunch.
Here is the comparison table I made in my blog post about Tinypng to save you having to search. In the table, I compare how each plugin compresses one image of 1667kb plus the large, medium and thumbnail sizes.
(All figures are kilobytes)
| Original 1250px X 1250px | Large 1024px x 1024px | Medium 300px x 300px | Thumbnail 150px x 150px | |
| No plugin | 1667 | 183 | 27 | 10 |
| TinyPng | 161 | 113 | 27 | 9 |
| Smush | 1667 | 179 | 26 | 9 |
| EWWW | 1628 | 179 | 26 | 9 |
| ShortPixel (Lossy option) | 66 | 50 | 17 | 5 |
ShortPixel comes out the best at just 66kb for the original image, and 50kb for the large size.
So, here is how to use ShortPixel on your blog, so you can great much better page load times.
Why use an image compression plugin?
Large images on your website are the No. 1 reason for slow loading webpages. You could have super-fast hosting such as SiteGround and a super-lightweight theme (like GeneratePress), but your blog post might still load up slowly (particularly on mobile).
Having a plugin installed on your WordPress site such as ShortPixel or TinyPng is the solution to that speed problem.
Read on to find out how you can install, set up, and use it right away.
Video: How To Use ShortPixel To Compress Images
If you’ve no time to read, why not watch this video instead?
How to install ShortPixel WordPress plugin
- Head over to Plugins->Add New
- Search for shortpixel and the below plugin should appear at the top of the list
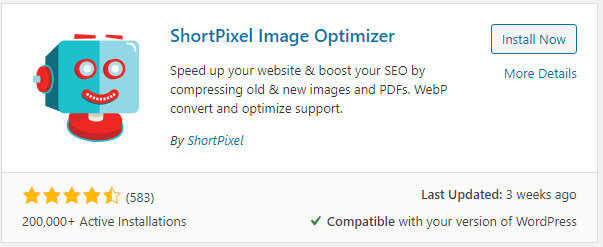
- Click Install then Activate
After you activate ShortPixel, you should be taken straight to the settings screen. If not pop over to Settings->ShortPixel.
- Enter your email address
- Click Request Key
- If you already have an API key enter it underneath
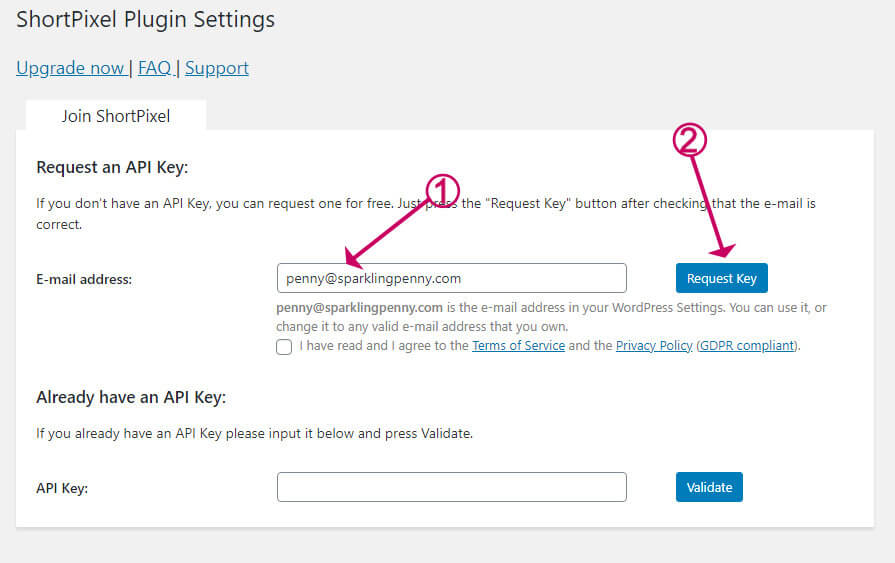
You will then be taken to a sign up page on the ShortPixel website.
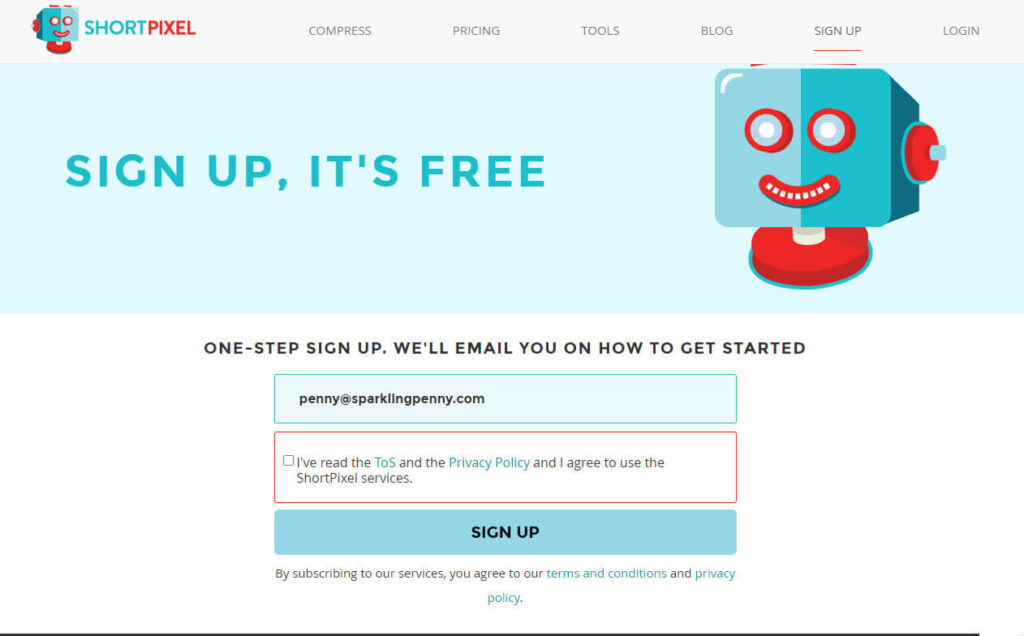
You should find that once you go back to the settings screen that your API key has been added, if not you will find the API key in your email from ShortPixel.
How to ShortPixel WordPress plugin
You can access the settings screen from Settings->ShortPixel.
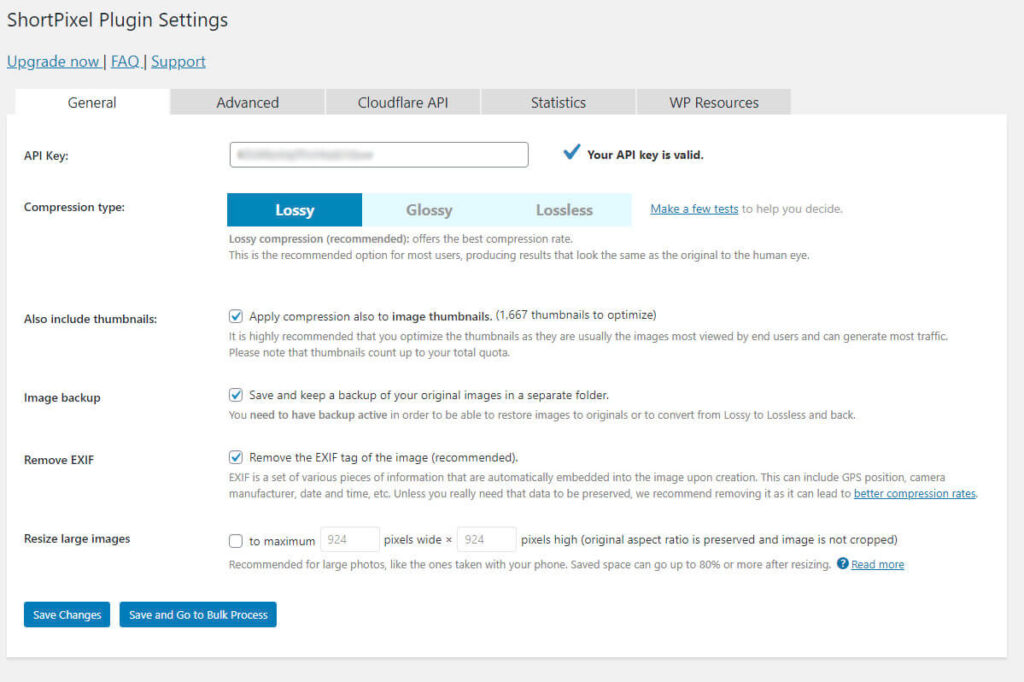
ShortPixel makes some default settings for you which include settings the compression type to Lossy. It’s worth experimenting to find the best compression level for you. I recommend you run a few tests by clicking the Make a few tests link.
If web hosting storage space is an issue the uncheck the Image backup.
In the Advanced tab, it is worth checking off Convert PNG images to JPEG. PNG images can be considerably larger than JPEG. There is no need to use a PNG unless you need transparency. Fortunately, ShortPixel can automatically detect transparency and will not compress in that case.
Every image size that is compressed uses up one of your credits. At the bottom, you can Exclude thumbnail sizes. It is worth excluding images sizes that you won’t use, plus the smaller sizes because you don’t get so much benefit from compressing those.
If you are using Cloudflare, ShortPixel can automatically flush images from the cache as they are compressed. Go to the Cloudflare API tab and enter your Cloudflare Global API which you can get from your Cloudflare account.
How to use ShortPixel to compress images in WordPress
Once you have ShortPixel set up then it will automatically compress images as you upload them.
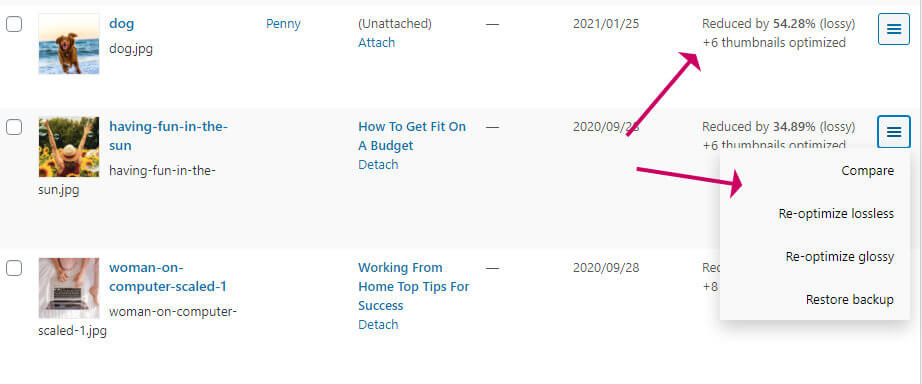
If you check your Media Library in list view you will see an extra column called ShortPixel Compression which tells you if the image was compressed and how many of the thumbnails were compressed.
When you click the ShortPixel Actions button, you have extra options to compare, re-optimize and restore from backup.
With the ShortPixel free account, you get 100 credits per month. This should be enough for normal usage, but you may wish to upgrade your account if you need more monthly credits or you want to bulk optimize your media library.
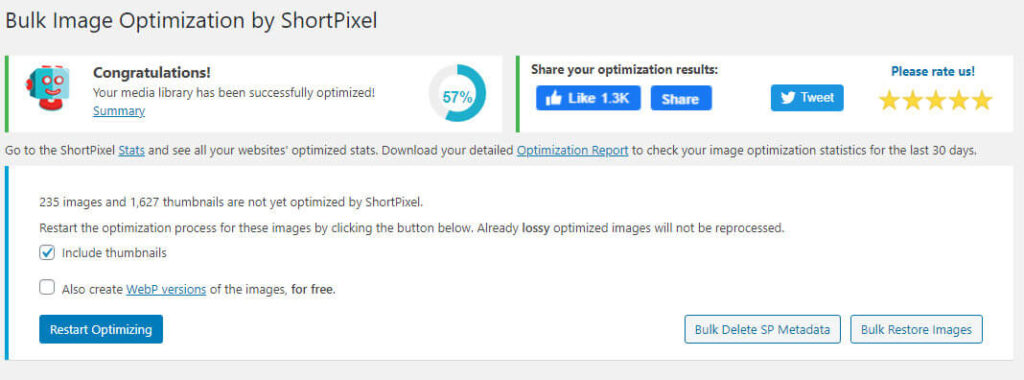
You can bulk optimize your library directly in your WordPress dashboard by going to Media->Bulk ShortPixel.
It’s a simple click to start the process and you can watch it happen.
Wrapping up
ShortPixel is a simple to install and use WordPress plugin for compressing your images on the fly and in bulk. The compression level you can get using the ‘Lossy’ compression type is the best of all the plugins I have tested.
You can compress 100 images per month for free, or you can upgrade your credits if you need more.


