In today’s post, I want to show you how to create a simple hello bar in WordPress using the amazing GeneratePress without having to install an additional plugin to do it. Plus, you can do it with just the free version of GeneratePress. If you have GeneratePress premium, then you have a few more styling options at your fingertips.
Here is how it could look:
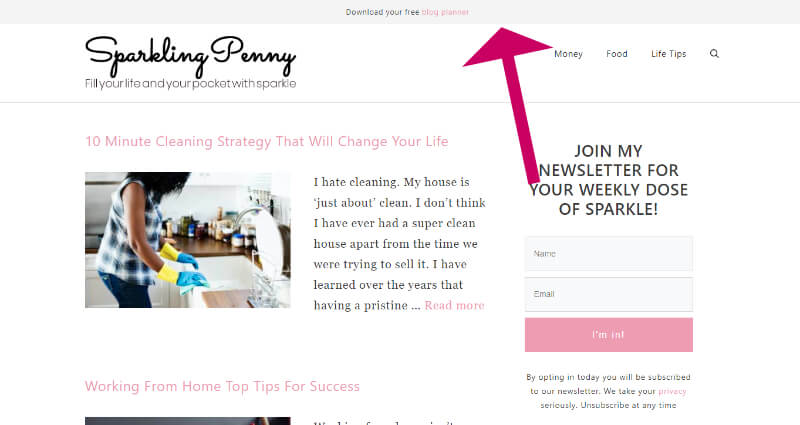
The top bar does not stick at the top as you scroll, but if you want to do that, you could add some simple CSS which I will show you how to do lower down this post.
Step 1 – Add widgets to the top bar
- Pop over to Appearance->Widgets
- Drag a text widget into the Topbar widget area
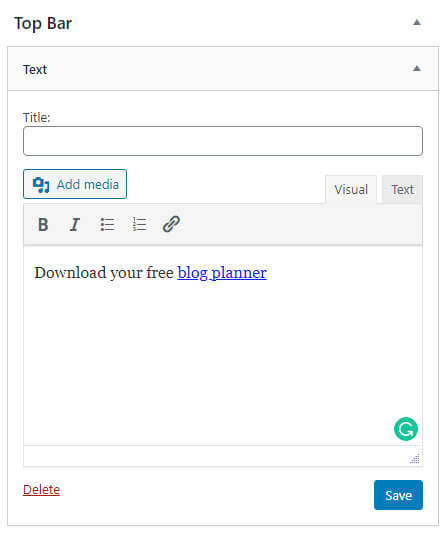
- Type your call to action text, adding a link.
- Click the Save button
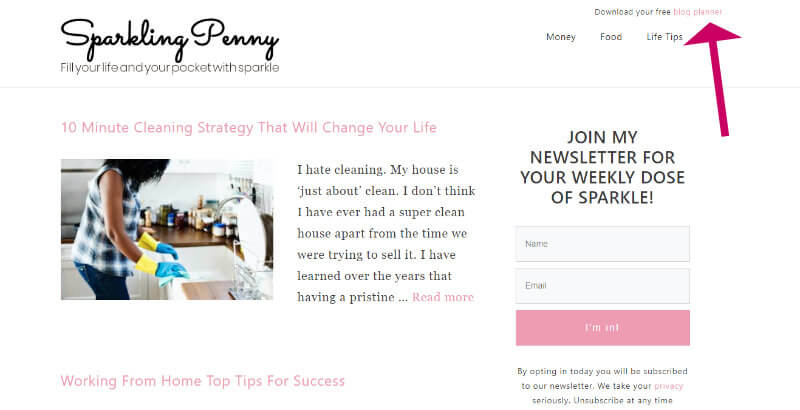
Now when you view the page the text you entered will appear in the top bar area.
Step 2 – Style the top bar
Useful to know: if GeneratePress detects that there is content present in the Top Bar it will show it automatically. If you remove all the widgets, it will hide it again.
Now lets style it.
Step 1 – Add widgets to the top bar
- Go to Appearance->Customize
- Choose Layout
- Choose Top Bar
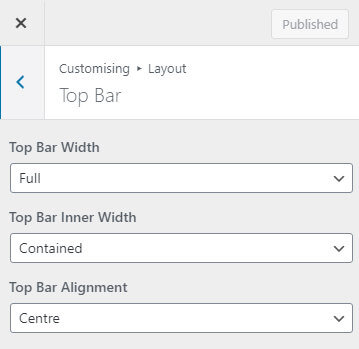
You can use the options to change the alignment and whether the top bar is full width.
Step 2 – Style the top bar
If you have the premium version of GeneratePress, then you have more freedom to change the colour scheme of the top bar.
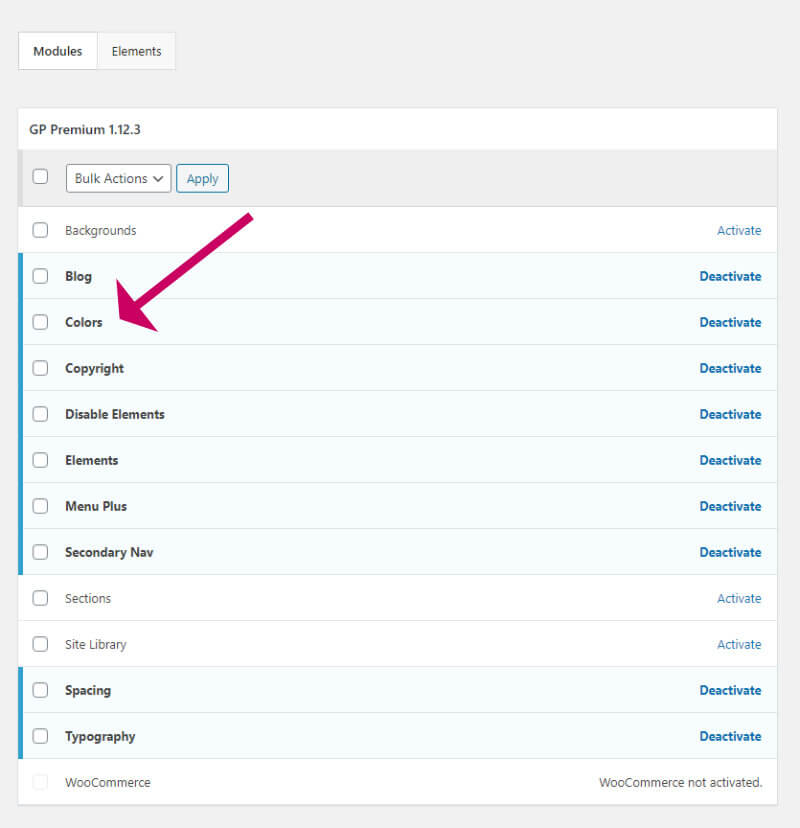
Before you start, make sure you have enabled the Colours and the Spacing modules in the GeneratePress settings.
You can check that by going to Appearance->GeneratePress and then checking that the modules are activated.
Now we are sure the colours module is enabled. Go back to the customiser and to change the colours.
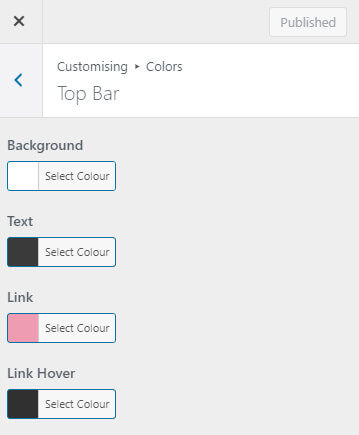
- Goto Appearance->Customise
- Click Colours
- Click Top Bar
- Select the colours you prefer for the background, text and links
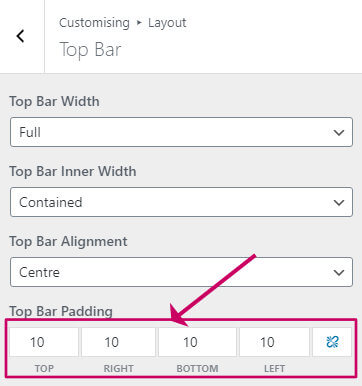
With GeneratePress Premium you can also control the spacing around the top bar by selecting Layout->Top Bar.
Bonus: How to make the GeneratePress top bar stick to the top
You can make the top bar stick to the top of your page. This is a great idea if you want your call to action visible all the time.
To make this happen all you need to do is add a snippet of CSS.
- Go to Appearance->Customise
- Click on Additional CSS
- Enter this CSS code into the box
.top-bar {	position: sticky;	top: 0;	z-index: 99;
}- Click Publish
Wrapping up
In this article, I have shown you how to add a top bar to your GeneratePress themed website (also known as a ‘hello bar’).
All you really need to do is add a widget into the top bar widget area, and the top bar magically appears on your website.
You can style your top bar in the WordPress customiser, and if you have GeneratePress premium, you have a few more styling options.


