In my previous post – how to get free SSL for your WordPress blog I talk about HTTPS, what it is, and how to get it without paying. We didn’t cover what needs to be done within WordPress to make HTTPS work properly. So that is what we will do here.
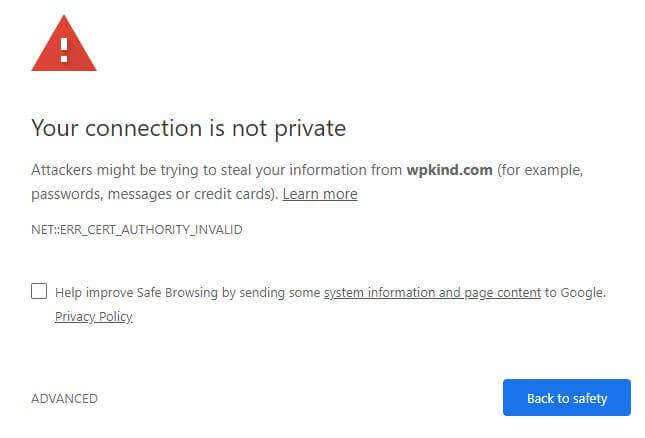
Before we start, make sure that your SSL (secure sockets layer) certificate is working correctly by visiting the HTTPS version of your site. You may get some errors but most importantly, if you don’t get this message in your browser, then it is working fine. If you do, then the best place to go for help is your hosting provider.
Is it all working? Then let’s begin!
There are two recommended ways of proceeding. If you are not comfortable tinkering with WordPress, or just want a quick and easy option, then pick the first ‘easy way’ below. If you have more time and more confidence, then I recommend you go for the preferred second option if you can, as it is a more long-term solution.
Picking the easy option involves installing a plugin, but comes with these downsides:
- you will always be dependent on a plugin for your site to run on HTTPS
- deactivating the plugin will cause your site to revert to HTTP
- you may still run into the same issues with non-compliant plugins as you would if you had picked the manual option
Easy way – install a plugin
If you are sure you want to go for this option, then I recommend this plugin: Really Simple SSL.
On activation, it will check for a valid certificate and display a message if it finds a problem. If there is an issue, now is the time to bring this up with your host.

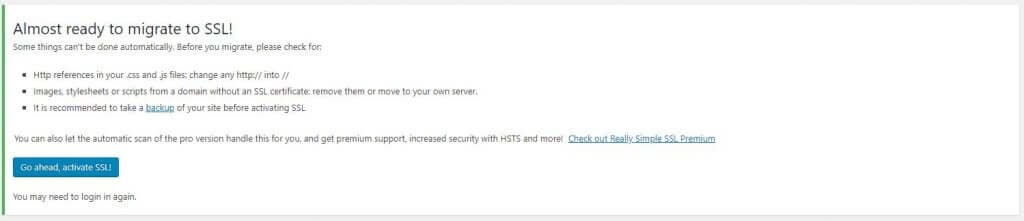
If all is well, then you will get the message below. Click the blue button, and log in to WordPress again if prompted.
Easy way – install a plugin
- It updates your site URL to HTTPS in the WordPress settings
- It searches for HTTP URLs and replaces them with the HTTPS version, ignoring external links
- If your website is Apache, it sets up a permanent redirect from HTTP to HTTPS preventing non-secure HTTP pages from being visited any longer
Harder way, but more effective – do it manually
It can’t physically change .CSS and .JS files which may reference non-SSL files, such as external fonts for example. If these files are part of a plugin you have installed, then either raise the issue with the plugin author or deactivate if it isn’t vital. If the problem is prevalent in your site’s theme files, then look for an update or contact the theme developer for support.
If you are referencing external CSS/JS scripts from your theme that are non-SSL, and the external URL does not have its an SSL certificate it is not possible for the plugin to use the HTTPS version. So, you have two options here, either stop linking to it or copy the file to your server and use it there instead.
Harder way, but more effective – do it manually
Wrapping up
Go to Settings->General and switch out HTTP for HTTPS in the WordPress Address and Site Address settings.

Once you click ‘Save Changes’ you will need to login to WordPress again, this time under HTTPS instead of HTTP. If the browser shows no errors and there is a padlock icon in the address bar, then your certificate is working fine.
What this plugin does behind the scenes
The next step is to update all internal URLs within your site with the new HTTPS protocol. You can do this quickly using a plugin. I recommend the Better Search & Replace plugin. Not sure how to install a plugin? See my quick and easy guide.
Before you make any blanket changes on your site you should take a backup in-case anything goes wrong.
After activating the plugin goto Tools->Better Search Replace

- Type in the HTTP version of your domain in the ‘Search for’ field and the HTTPS version in the ‘Replace with’ field.
- Do not tick the ‘Replace GUIDs’ box unless your site has never been live before. Doing so could mess up your RSS feed. WordPress codex recommends NEVER to update the GUIs. More info here: Important GUID Note
- Select the tables on which the search and replace will be performed. In this case, you need to select all of them with Control+A or Command+A.
- Tick ‘dry run’ the first time you run this to be sure you are doing the right thing.
- Click ‘Run Search/Replace‘.
When you sure all is well, un-tick the ‘dry run’ box and run Search/Replace again.
What this plugin does not do
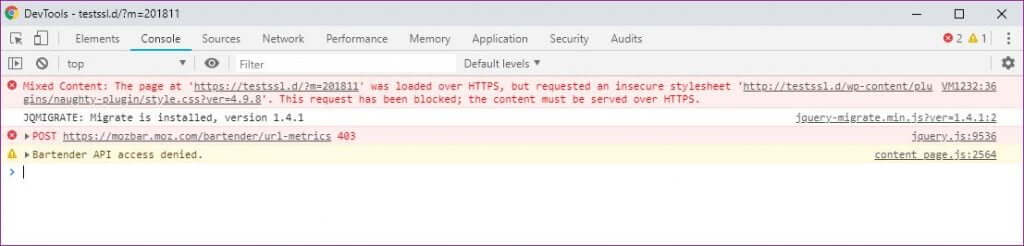
The next step is to check for ‘mixed content’ errors which can occur when files load via HTTP instead of HTTPS. You can check for these errors by opening the Inspector window in your browser. Open the Inspector in Chrome using Ctrl+Shift+I, in Safari using Cmd+Alt+I, or on Microsoft Edge right-click anywhere in the browser window. If there are no ‘mixed content’ messages shown in the ‘Console’ tab, then all is well.
Here is an example of what you would see if were problems. We can see below that ‘naughty-plugin’ has loaded a CSS file over HTTP. In this instance, you should either report the problem to the plugin/theme developer or deactivate it. If it is critical then installing the Really Simple SSL plugin may resolve the issue until the developer fixes it.
Step 1 – Change WordPress and Site Address in Settings
The last step is to permanently redirect all calls made to the HTTP version of your site to HTTPS. This will ensure that all backlinks to your site continue to work. There are a couple of options:
Easy way – install a plugin
If you are running cpanel on your hosting account, open it up and click on Domains then toggle on Force HTTPS Redirect.
Harder way, but more effective – do it manually
You can redirect http to https by editing the .htaccess file that lives in the main folder of your WordPress install. You should be able to edit this file using the File manager of your host’s control panel. The .htaccess file needs to include the following:
<IfModule mod_rewrite.c>
RewriteEngine On
RewriteCond %{HTTPS} off
RewriteRule ^(.*)$ https://%{HTTP_HOST}%{REQUEST_URI} [L,R=301]
</IfModule>
The above configuration is for Apache web servers which is the most common web server. If you are using NGINX, then you would need to add this to your configuration file:
server {
listen 80;
server_name example.com www.example.com;
return 301 https://example.com$request_uri;
}
Don’t forget to replace example.com with your actual domain name.
Wrapping up
At this point, your site should function properly on HTTPS. Congratulations!
Any question or problems do post below, and I will endeavour to help you out.


