In this post I am going to take you through how to set up Mailerlite for the first time, connect it to your blog, and then how to start accepting email signups from a form on your website. Finally, I will show you how to create an autoresponder to go out as soon as someone signs up. This is going to be so exciting because you can do this all for free!
What is Mailerlite?
Mailerlite is an email marketing service. It allows you to collect email addresses, segment them, send out newsletters and also set up autoresponders for when people sign up to your list. You can create campaigns with quite complex if/then sequences, and you can design gorgeous looking emails using their email editor.
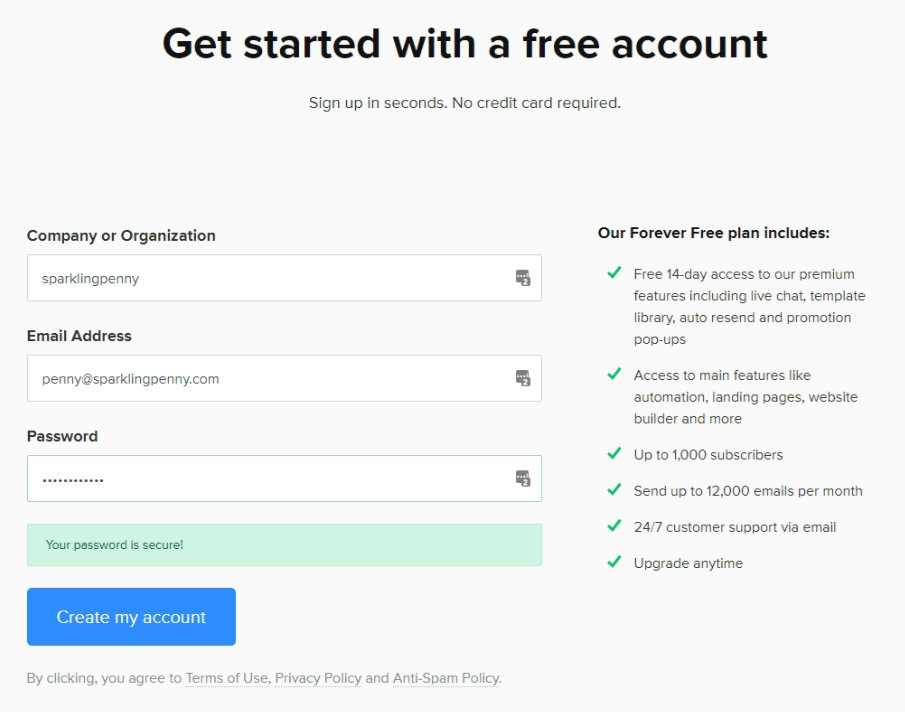
What I love about Mailerlite too, is that there is a free tier that allows you to use all the functionality of the full version for up to 1,000 subscribers, which is great for new bloggers. After that, the monthly fee is cheaper than most of the other platforms available including ConvertKit and Mailchimp.
Things you’ll need
To use Mailerlite you will need an email address for your domain, such as [email protected]. Unfortunately, you can’t use a free email address such as [email protected]. If you don’t have a domain email address yet, head over to your web host to set one up. It is very easily done, and if you have problems, do raise a ticket. You will need to make sure you can access any emails that come through because Mailerlite will be sending you an email during the verification and approval process.
Video – How to open a Mailerlite account
No time to read? Check out this short video on how to open a Mailerlite account.
How to get a Mailerlite account
To get started head over to Mailerlite.com and click the signup button. Complete the signup form using your domain email address.
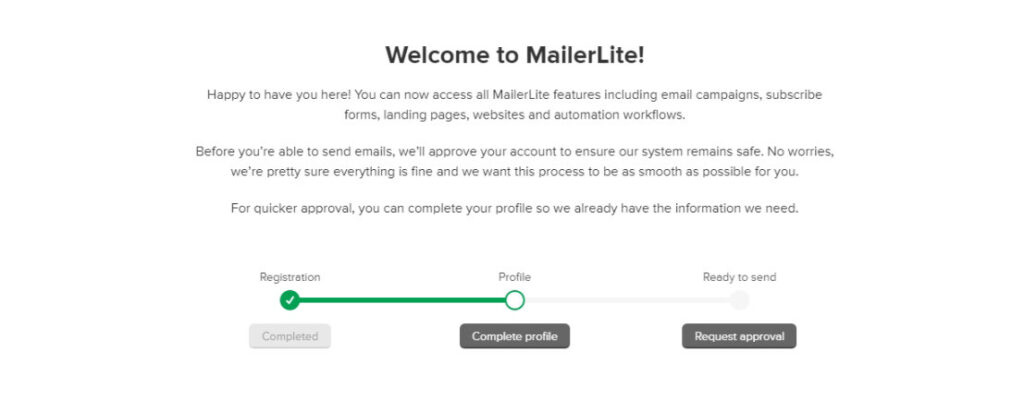
On the next screen, click Complete profile and then you will be asked to add more details including your address.
For your industry you could select ‘blogger’ and then for the content you plan to send you could add ‘newsletters’.
Submit the form and when you get back to to the previous form, select Request approval.
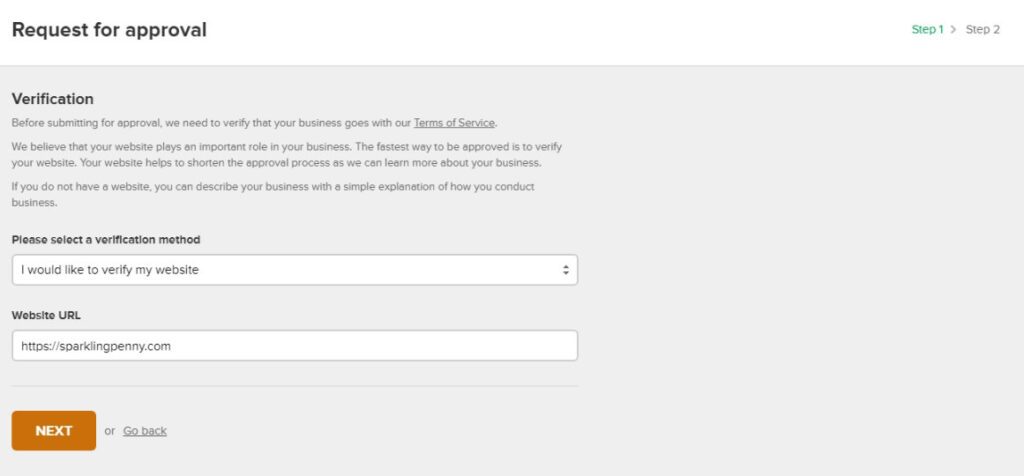
Now enter your website’s URL and click Next.
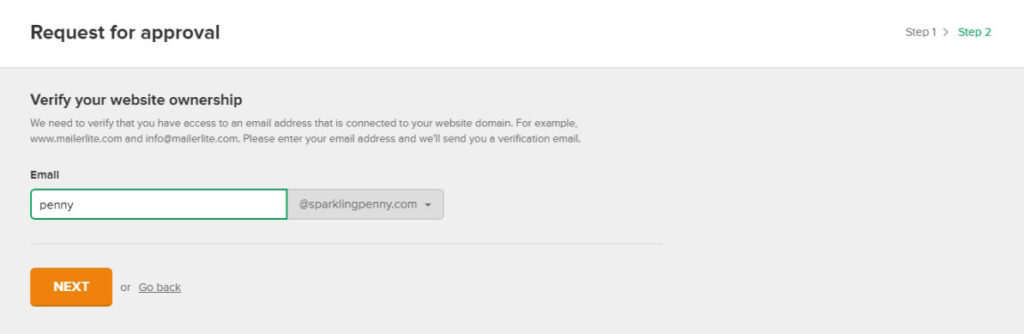
In the next screen enter the email address that you have for your domain, and click the Next button.
Now wait for the email from Mailerlite to arrive, then click the green confirm my email address button and you should arrive back in Mailerlite.
Now wait for your email to arrive approving your account.
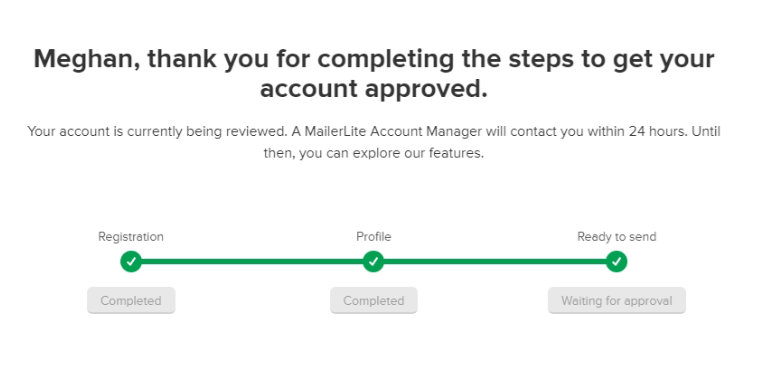
If your account isn’t approved. It is well worth asking the reason why. The Mailerlite team are very wary of people using their accounts to send out spam. Also, they don’t like emails containing affiliate links, you might need to convince them that you will not be doing that.
Assuming all is well and you have your new account, let’s find out how you can connect your new Mailerlite account with your blog and start building an email list.
How to setup Mailerlite on your blog
What is Mailerlite?
No time to read? Here is a simple demonstration in this short video.
Things you’ll need
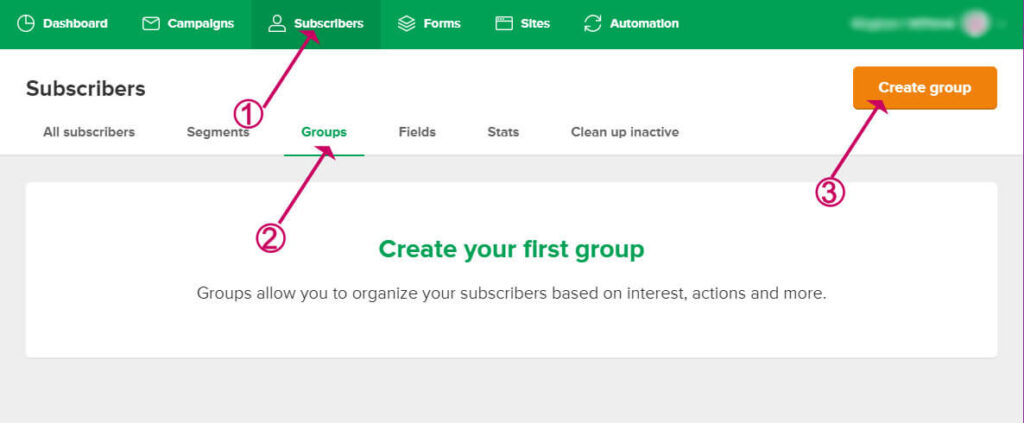
In Mailerlite there is one universal subscriber list that you can organise by adding subscribers to specific groups.
Groups are Mailerlite’s equivalent to ConvertKit’s tags. They have exactly the same function in that you can create multiple groups and add a subscriber to one or more groups when they sign up to your list, or based on an activity such as clicking a link in an email.
- Click on Subscribers
- Click Groups
- Click Create group
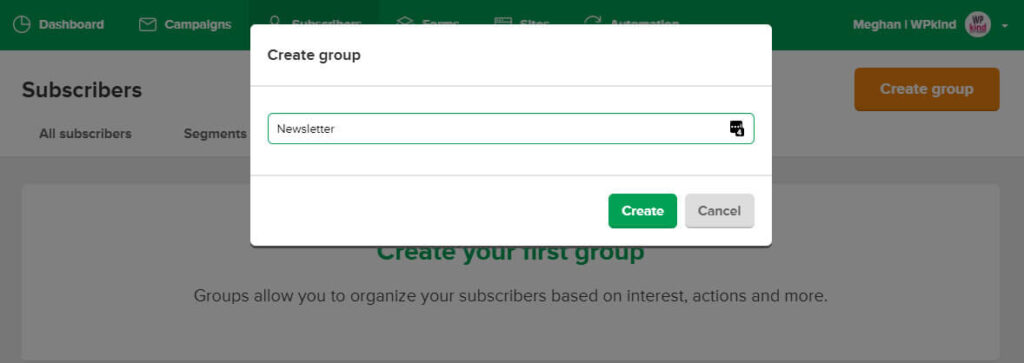
- Enter the name of your new group in the box
- Click Create
Video – How to open a Mailerlite account
Now you have group set up. Next, we’ll create a Mailerlite opt-in form.
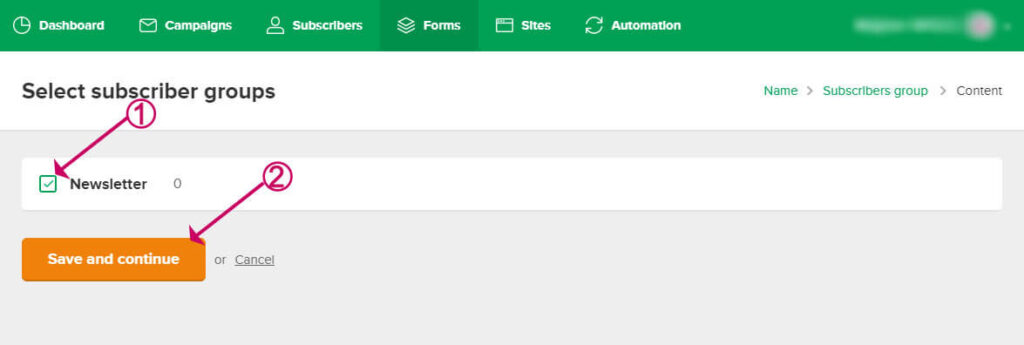
- Click on Forms
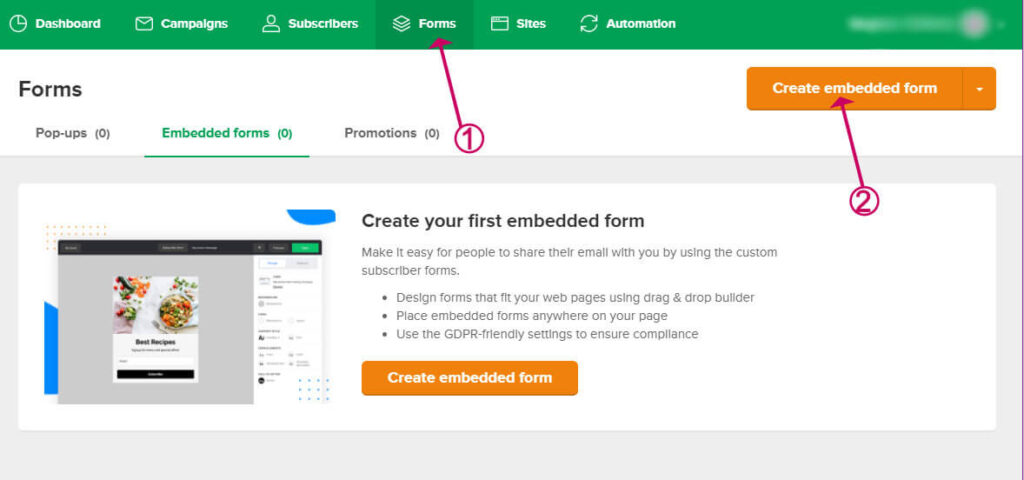
- Click on the subscriber group you added earlier to select it.
- Click Save and continue
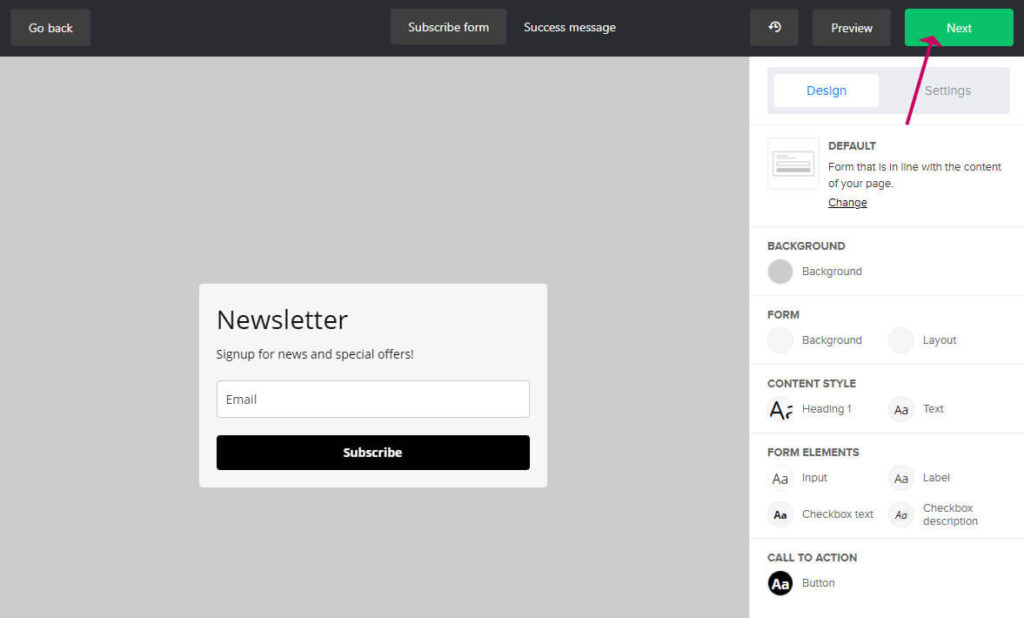
Next you can design your form using the options on the right. When you are happy with your design click Next.
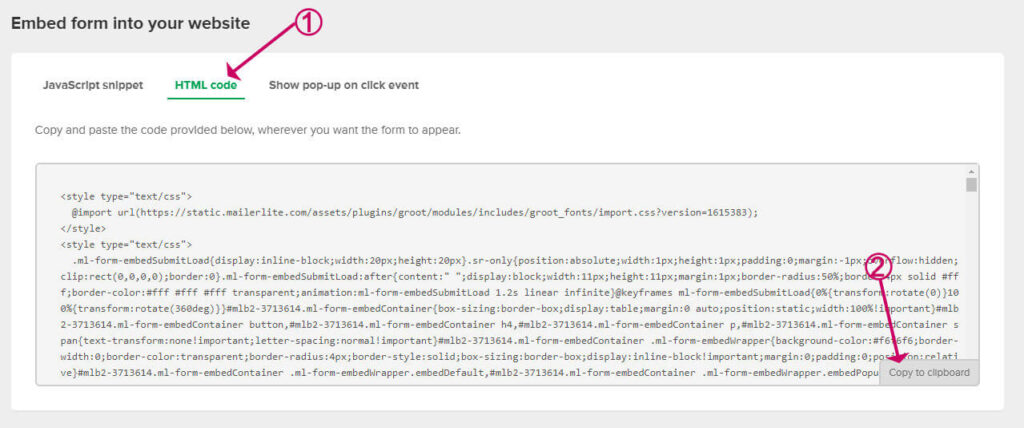
On the next screen scroll down to the Embed section
- Click on HTML Code
- Click Copy to clipboard
How to get a Mailerlite account
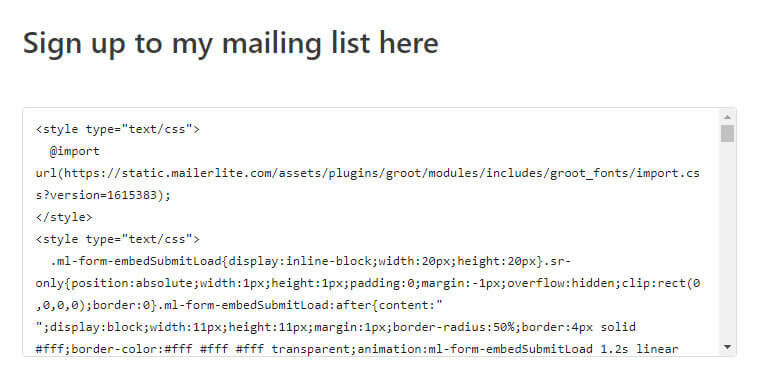
Now, let’s add the form to your website. You can use the code you copied inside a post or page such as your on your subscribe page and you can add it to your sidebar if you have one too.
How to setup Mailerlite on your blog
- Open up the page where you want the signup form to appear.
- Add a Custom HTML block to your post. Then paste in the code you copied from Mailerlite.
Pro tip: Why not make your new block reusable? That way you can add the same block to more than one page and only have to update it once. Here’s more about that – How to Use Reusable Blocks in WordPress Block Editor (Gutenberg).
How to make an autoresponder
If your blog has a sidebar, you could also add the form there too.
- Go to Appearance->Widgets
- Drag a Custom HTML widget into your sidebar OR if you have Gutenberg add a Custom HTML block to your sidebar. Then paste in the code.
How to make an autoresponder
Next, we will make an autoresponder that will be sent out as a welcome as soon as someone signs up to your list via one of your forms. You can do much more by sending out a whole series of emails, but for this tutorial, I will keep things simple, and show you how to create a single email.
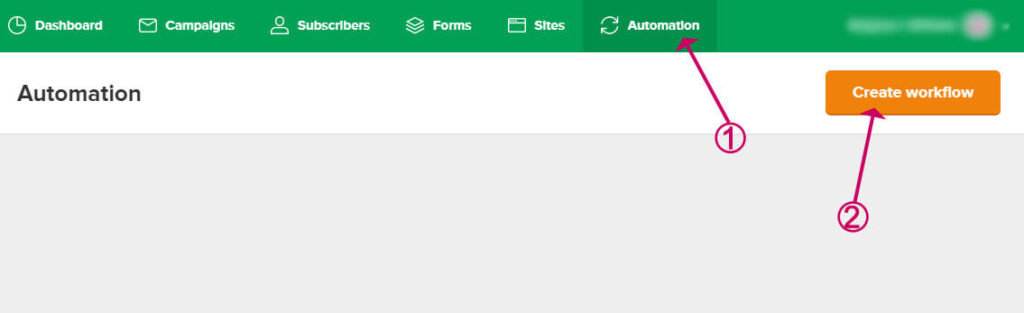
- Go back to the dashboard
- Click on Automation
- Click Create workflow
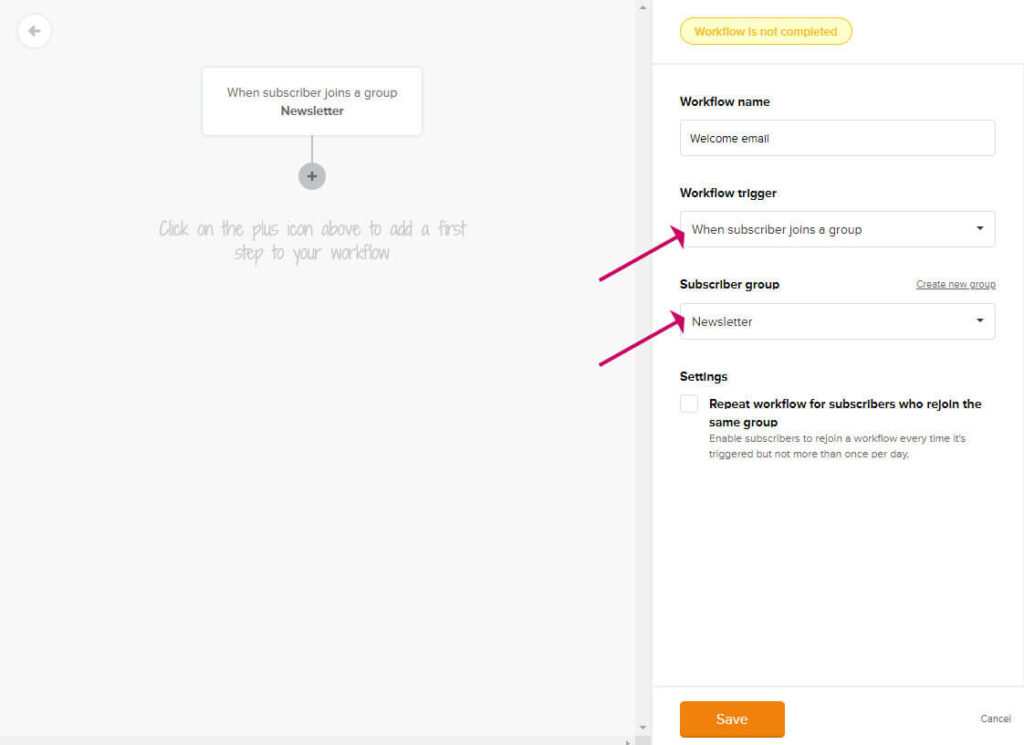
- Enter the name of your workflow
- Choose When subscriber joins a group
- Then select the group you created earlier
- Click Save
- Click the plus icon to add a step
- Click Email
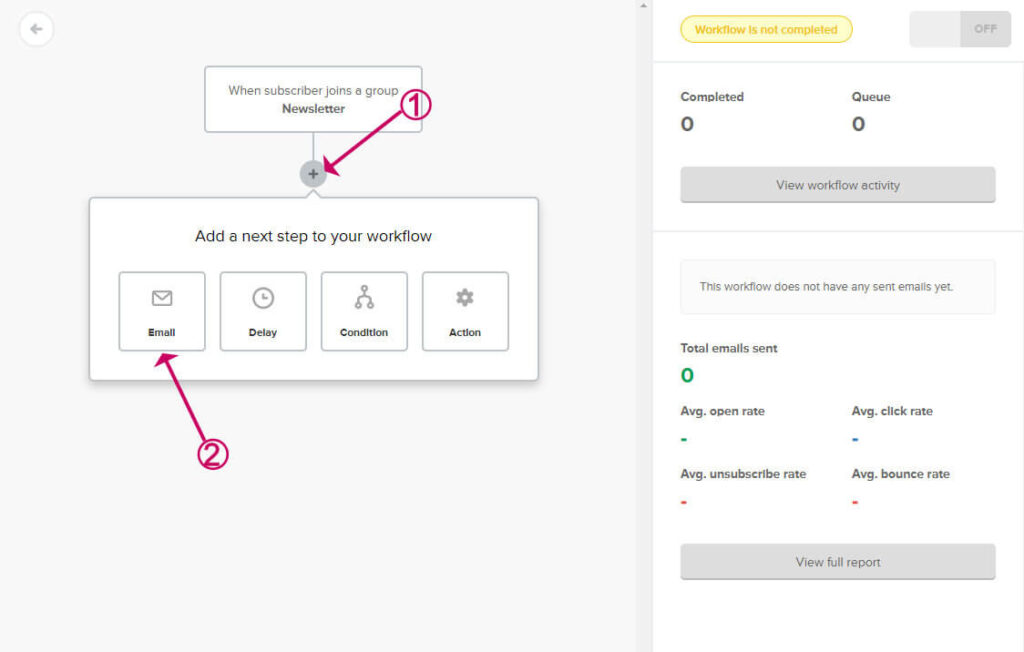
- Add a subject line, e.g. ‘welcome to my email list’
- Click Design email

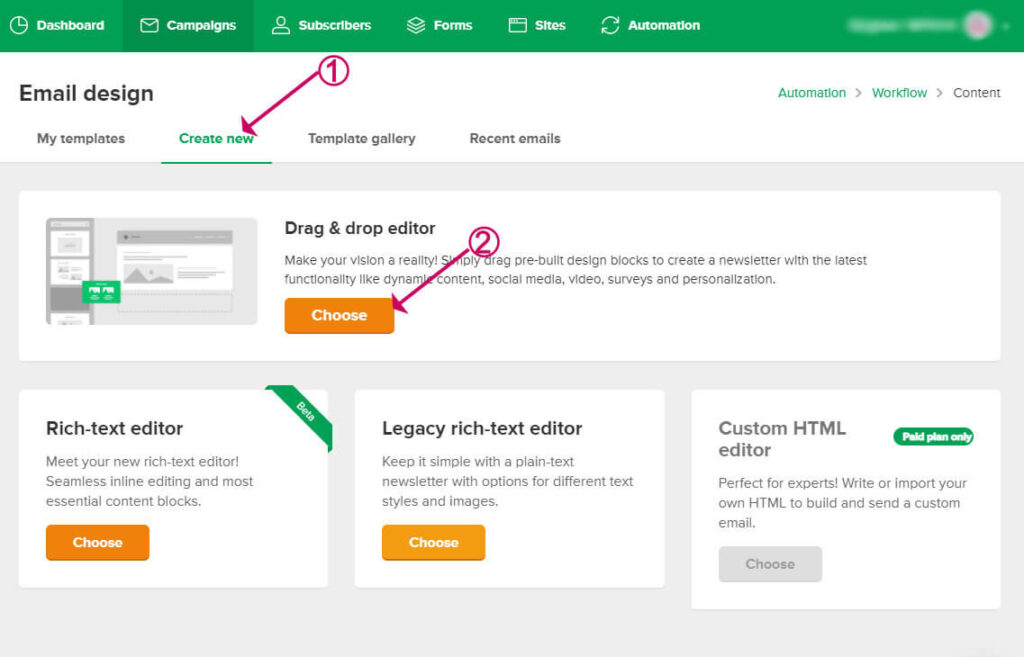
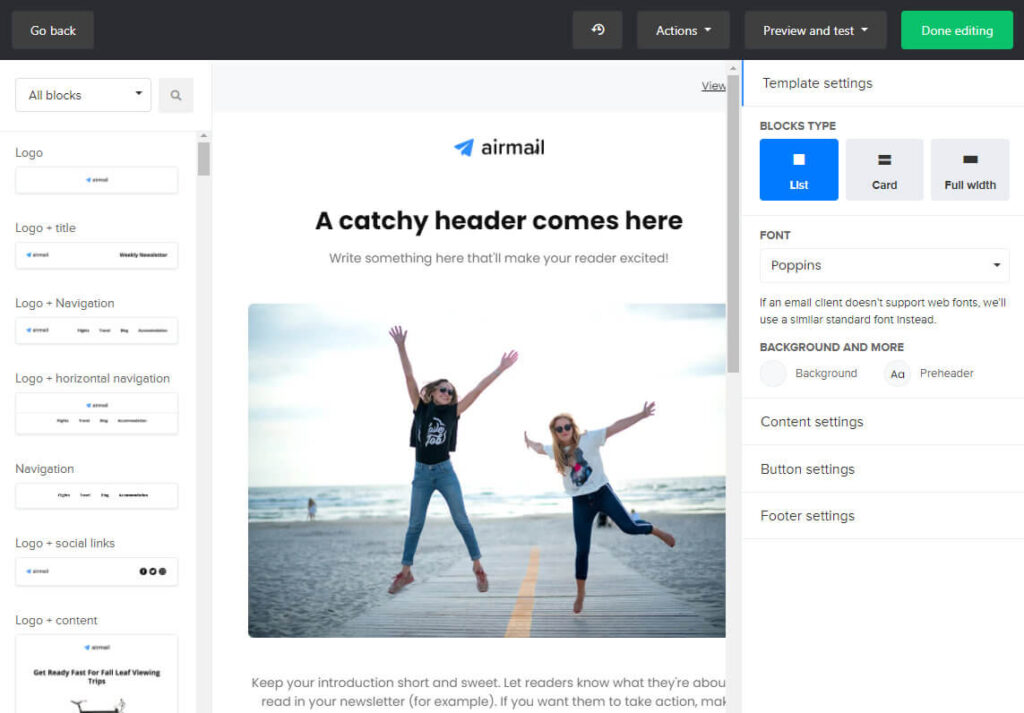
Next, we will choose a template for your email. You can choose from a premade template gallery. Here we will create a new template.
- Click Create new
- Click Choose
Now you can edit your email and add your own content.
You may well want to delete most of the elements, as it is best to keep your emails nice and simple for better deliverability.
When you are finished click Done editing
To create a series of emails add some more steps below, such as a delay of few days, then a second email and so on. For this tutorial we will stop here.
Lastly we will switch the automation on using the top right toggle.

Click the back arrow to go back to the dashboard.
That’s it. Your email will now get sent automatically when someone joins your email list.
What’s next?
When you start to get email signups, the next step will be to send out regular emails, this could include a link to your latest posts or something that your readers would be interested in.
The forms offered by Mailerlite are quite basic, I recommend once you get comfortable with Mailerlite that you explore Thrive Leads (which works perfectly with Mailerlite). Besides Thrive Leads the same developer has other plugins for growing your list such as Thrive Quiz Builder and Thrive Ultimatum (for creating a scarcity offer). All these plugins are available for a yearly subscription with Thrive Suite. I use all of Thrive’s products on my website and it has done wonders for increasing email signups.
Here’s more – How I Use Thrive Leads to Increase Newsletter Signups


