In this post, I am going to take you through how to add an image to a blog post using the new Gutenberg block editor in WordPress.
I will take you through everything you need to know to make your images pop and your posts sparkle with life.
I love the new block editor! I admit at first I wasn’t sure, but it has grown on me more and more and now I love it.
Adding images to your content is a great way to add interest and break up text making for enhanced reader engagement.
Fortunately, the new Gutenberg block editor makes adding images even easier than before, allowing you to, resize, align things perfectly, and even create your own call to action hero block.
Nowadays shareability is everything. It is essential now to have images that are shareable on various social networks and in a suitable format for that network.
With this in mind …
I have a treat for you! In my bonus section at the end, I will show you the best way to store all these shareable images, so that you look good on every social media platform.
1. How to add a featured image to a WordPress blog post
Ideally, every post should have a featured image. If you are not adding special images for Facebook and Pinterest sharing (I will talk about that later in this post), then setting this image is absolutely essential, as it will be used as the main image for social media sharing.
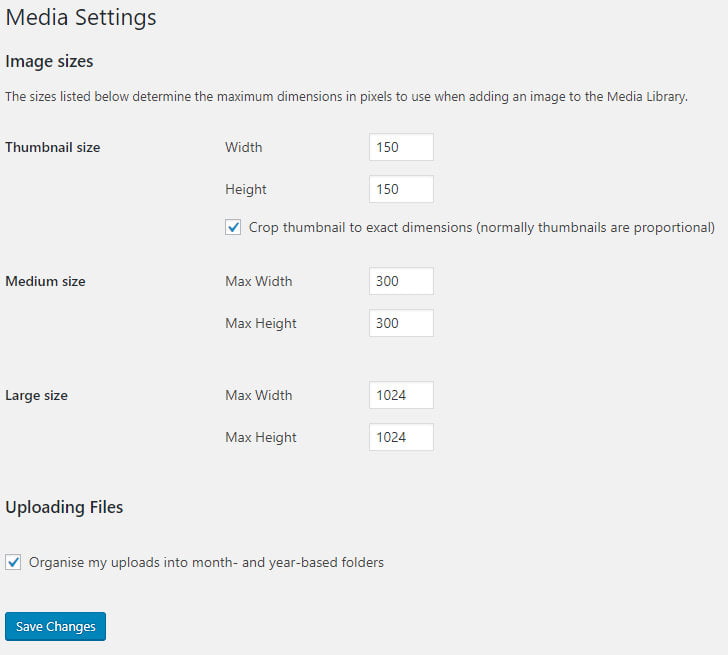
The dimensions of this image will depend on what theme you are using. You can upload any image size and WordPress will resize and crop it to the sizes set by your theme.
Heads up: Even though WordPress will resize images for you, a rule of thumb is to never upload anything larger than 1meg.
You can check and update the image sizes in Settings->Media.
How to set the featured image for your post:
- On the right-hand panel, check you have the Document tab enabled
- Scroll down to the Featured Image section and expand it
- Click Set Featured Image
- In the media library, select or upload a new image
- Click the Select button
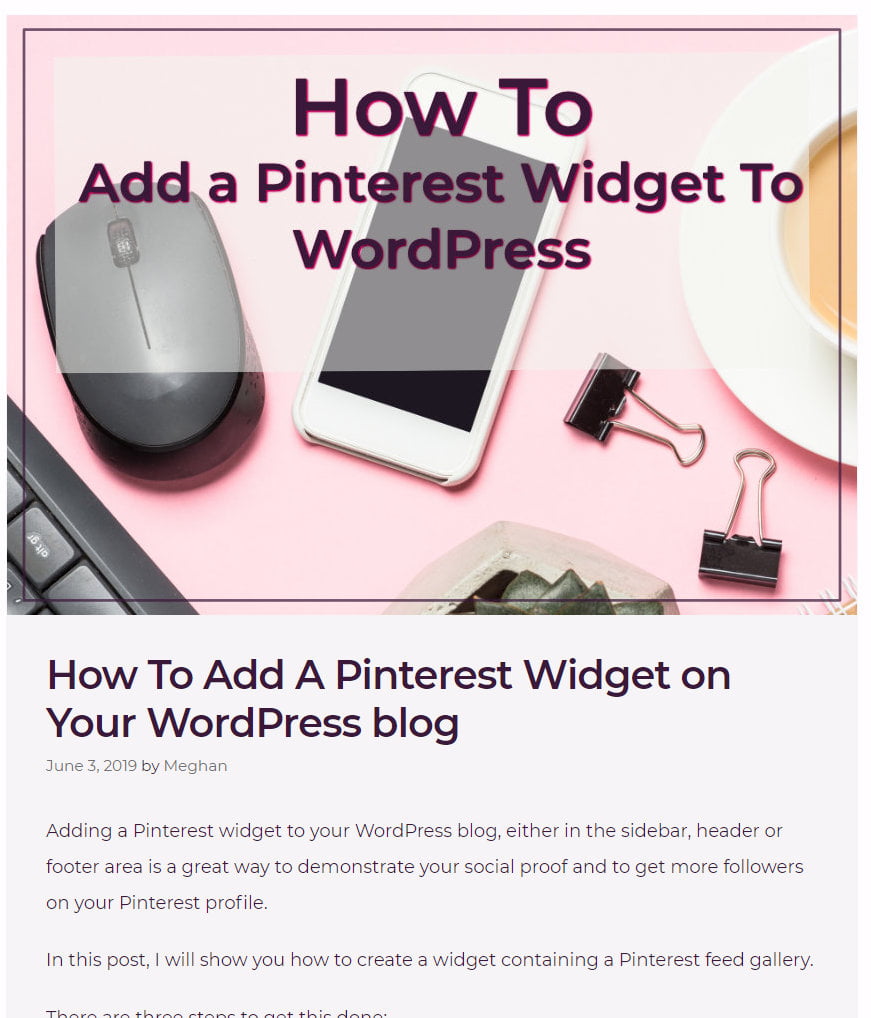
Depending on your theme the selected image should then appear on your post when you preview it. In the example below the featured image is displayed above the title, but it could be below or aligned within the text body.
2. How to add an image to a blog post
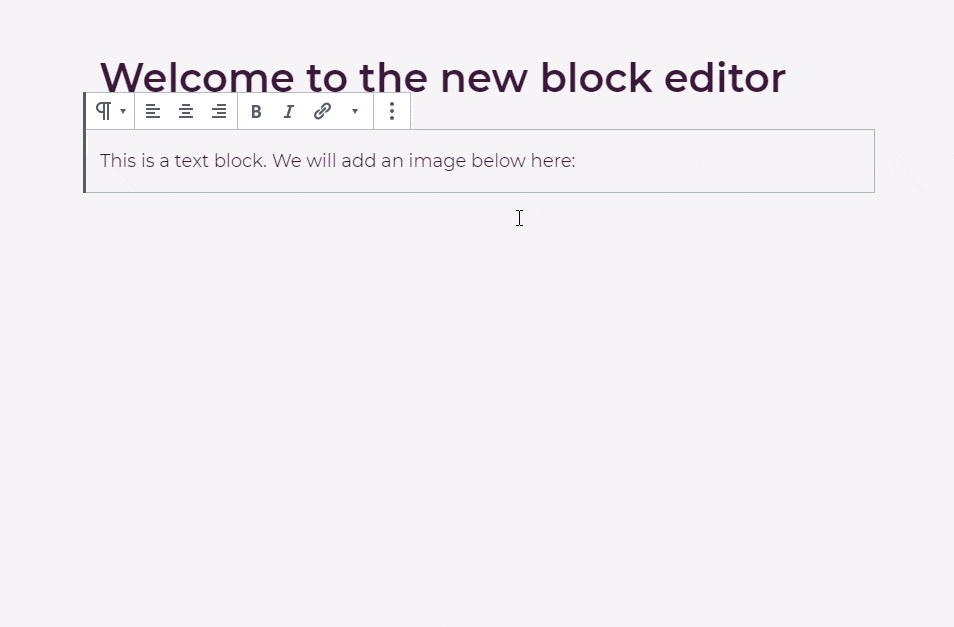
To add an image below your current text, press return to start a new block then type /image and press return again.
To add an image above another block, click the plus button at the top of the block.
Then use the buttons shown in the new block to upload a new image or click the Media Library button to select an image already uploaded.
You can also add a new image by dragging it into the box and it will automatically be added into the media library.
You can also drag an image anywhere in your post without creating an image block first, which is a really quick way to add an image.
Heads up: Make sure that you give your image a descriptive name before you upload it. If you can include some keywords, even better.
Once you have your image placed within a block, there are various options that you can set.
Click on the image to show the toolbar, and use the align icons to set right/left alignment, center, wide or full width.
You can also use the block options to change the size or use the blue handles to change the image size.
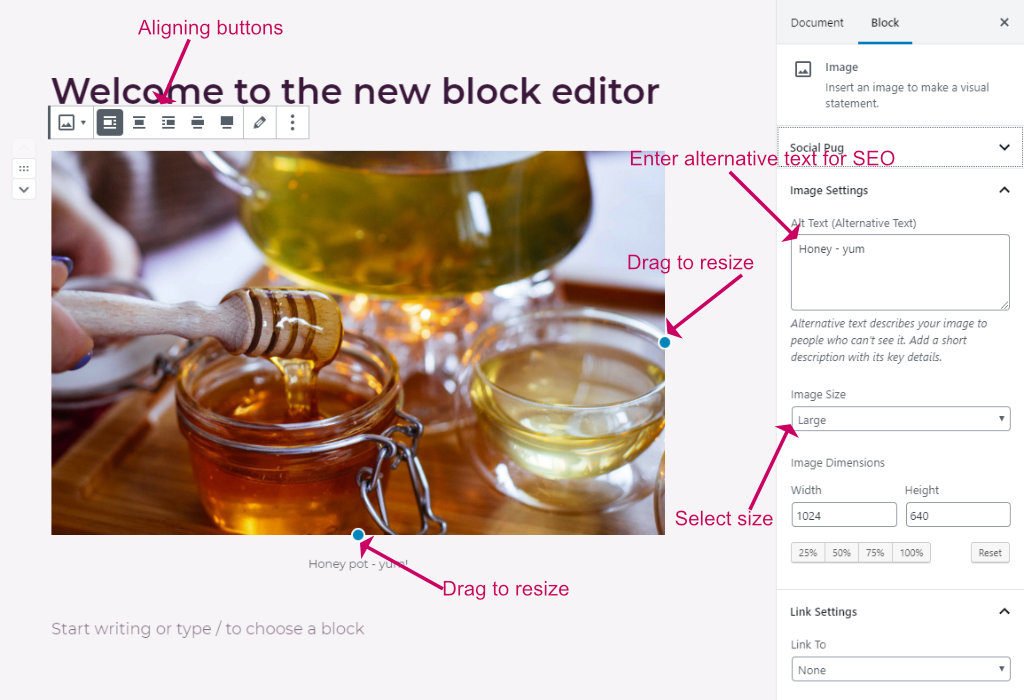
Don’t forget to add an ALT text for the image for better SEO, and optionally add a caption text below the image.
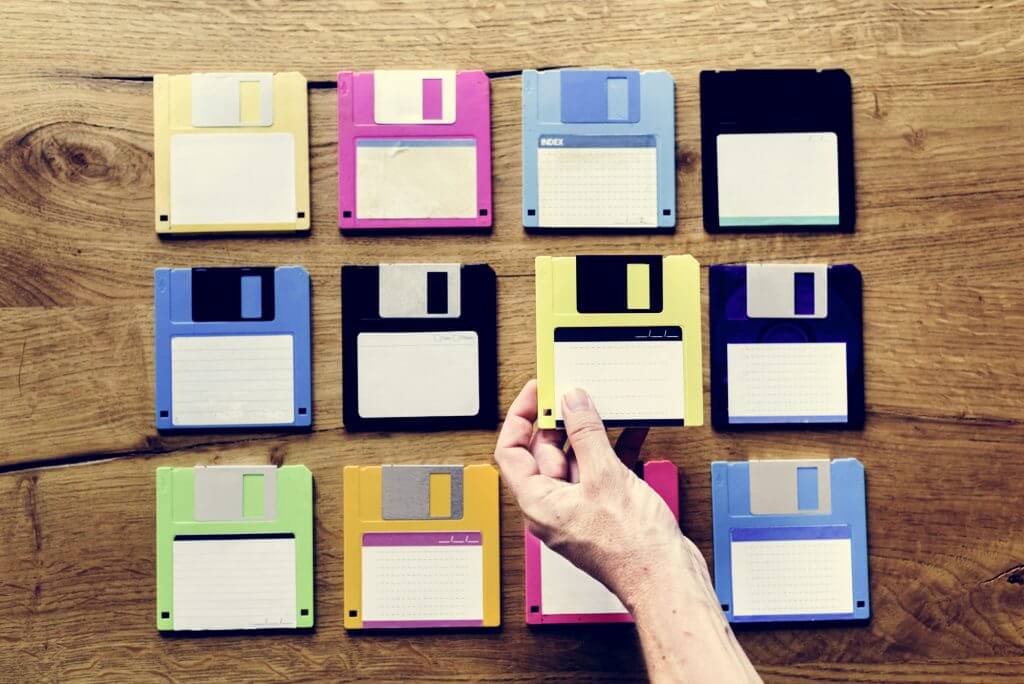
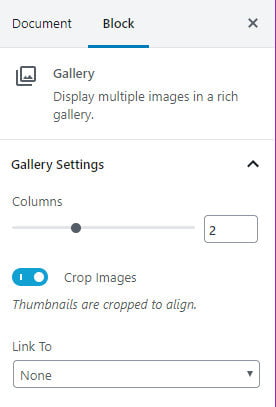
3. How to add a gallery block to a WordPress blog post
To add a gallery of images to your post, create a new block by clicking the + icon or pressing return and type /gallery.
You then have the option of dragging multiple images into the block or selecting images from the media library.
Once you have the images inserted into the block, use the block settings on the right panel to set the number of columns, and to set whether the images should be cropped.
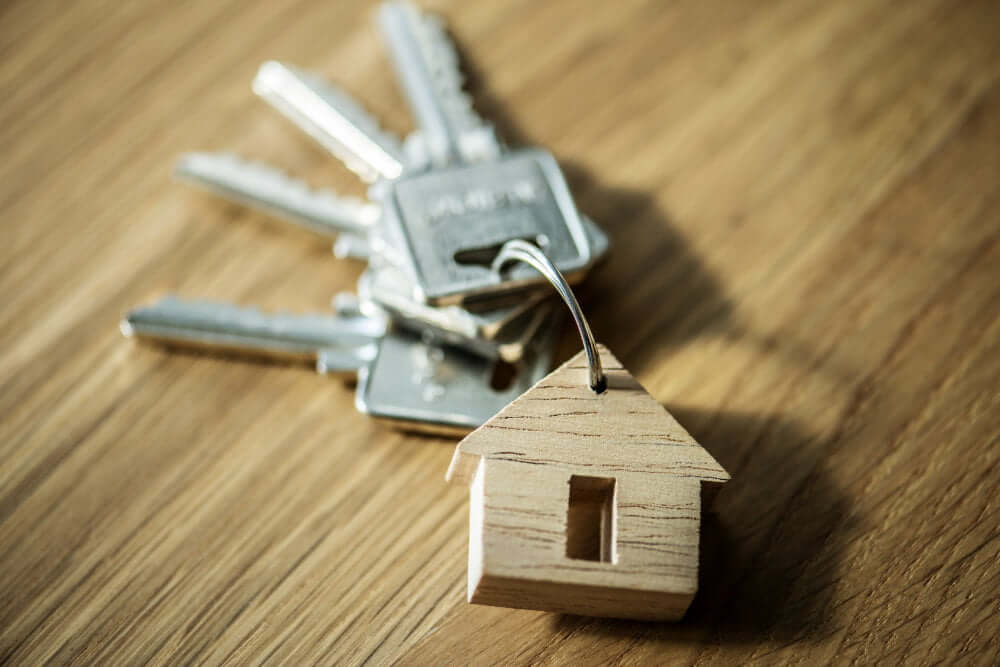


4. How to add an image block with perfectly aligned text
The media and text block allows you to perfectly align an image with some text. This is something that was hard to do in the old editor, so is a much-appreciated improvement!
Using the same method as previously, add a new block and this time select the Media & Text block.
You then get two columns with an image placeholder on the left and text on the right. You can change the arrangement using the toolbar that appears when you click on the block.
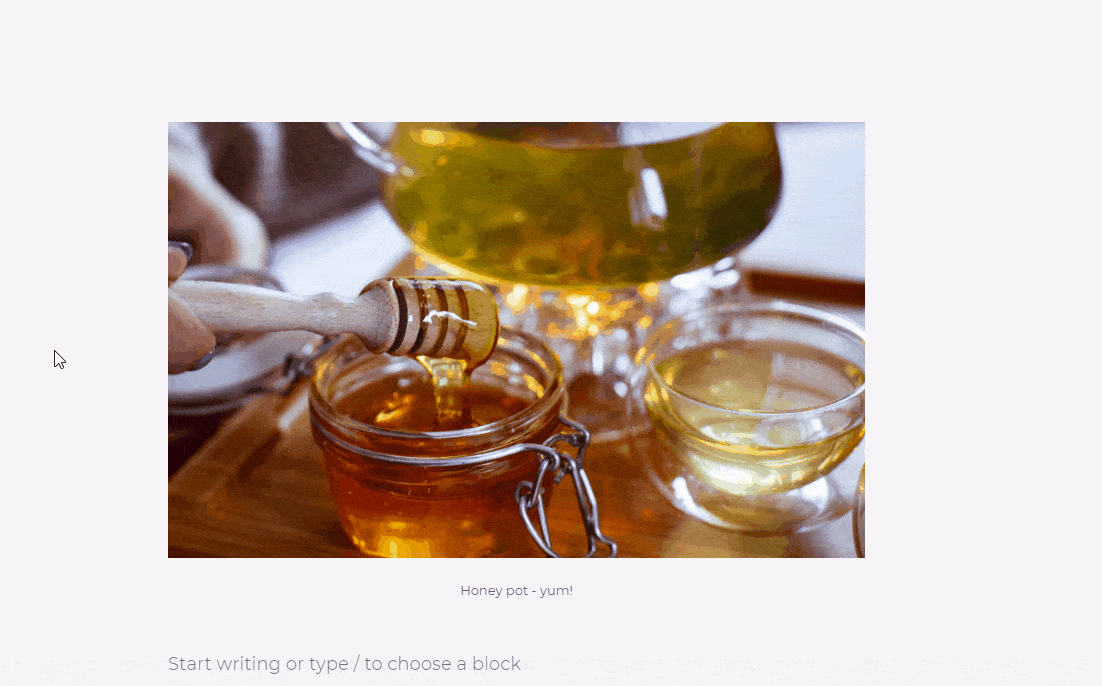
Here I have an image on the left and some text aligned on the right (on a mobile it will appear stacked).

This is a honey pot. I love gooey honey!
In the block settings, you can set the block to stack on mobile, which makes visibility much better on small devices, so I always like to turn that on.

5. How to add a cover image block
This block allows you to add a full-width image with some overlaid text, making your own hero block, which previously was only possible with a page builder plugin, so I am very excited about this!
Add a new block using the same method as with the image and gallery blocks, but this time select the Cover block.
You can also edit the overlaid block, change the block type, and add further blocks. Note that you are limited to only heading, paragraph and button blocks.
This cover image has a fixed background
It also has a colour overlay
The image toolbar options are the same as for the single image block as regards alignment, but you have some extra block settings on the right panel.
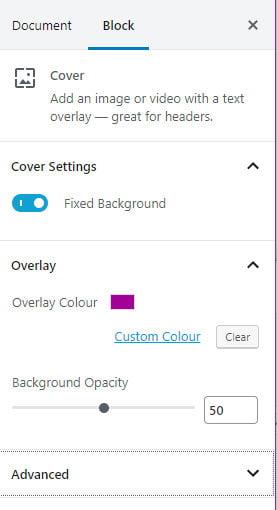
You can set the background image to be fixed, producing a parallax effect, and you can add a colour overlay to personalise your image even more and make the overlaid text stand out better.
Bonus: How to add special Pinterest and Facebook sharing images to a blog post
When you add a featured image to a post, and your reader shares that post, usually they will share the featured image. If you have set the featured image size to be compatible with Facebook, then you are generally good to go.
However, great images have become so important now, and of course, we now have Pinterest, which prefers media to be tall rather than wide, so we can’t get away with only having one shareable image anymore.
This is where you need an extra plugin that lets you enter more than one type of image.
For every post I publish, I make at least three images.
- An image that will be displayed as a featured image at the top of the post and in archives
- An image for Facebook 1200 x 630 pixels
- An image for Pinterest 800 x 1200 pixels
- Optional additional Pinterest images for repinning on Pinterest (these can be made later)
You can use a free picture editor like Canva or Adobe Express to make the images or a desktop app like Adobe Photoshop. I use Affinity Designer to make my images, it is much cheaper than Adobe and works just as well.
When you have your new images created you need to upload them to your post. To make the various images show up for the different social media sites you need a social sharing plugin.
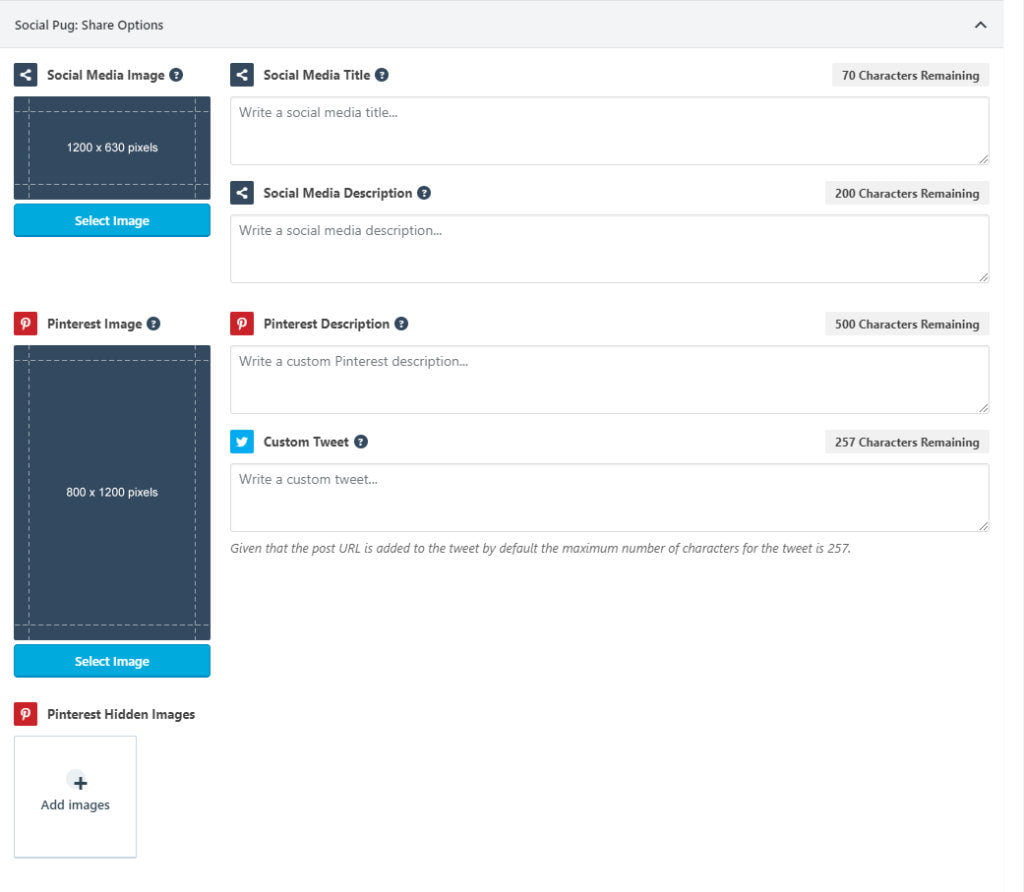
I use Social Pug but there are many more out there. Another good one is Social Warfare.
Using Social Pug or Social Warfare, you can upload the other image sizes along with some default social media sharing descriptions.
This means that when your reader shares a post to Pinterest say, they will share the tall version, which is more suitable for Pinterest.
Similarly, when your reader shares a post to Facebook, it will grab the Facebook optimised version (1200 x 630).
The latest version of Social Pug now allows you to add multiple Pinterest images, which is great if you want to give your sharers options.
Wrapping up
In this article, I have gone through all the different ways that you can add images to your posts in WordPress.
Images are a great way to break up the text, engage your readers, and enhance reader understanding with visual queues.
You can also add images to WordPress that are hidden but will show up when a post is shared and I have shown how you can achieve that with the Social Pug plugin.
One last thing, if you are going to add a lot of images to your posts, you should lazy load them. Lazy loading causes images to download only when they are scrolled into view. This makes the initial page load super fast.
Lazy loading is one of my recommendations in this post 14 Super Easy Ways To Speed Up WordPress.


