In today’s post, I am going to share how I use Grammarly in WordPress to spell and grammar check all my posts.
Since I started using Grammarly, I have to say that my productivity has skyrocketed. I used to spend hours reading and re-reading posts, but they would still have errors!
Now, all it takes to proofread my posts is a quick scan with Grammarly.
The biggest thing I struggle with is where to put commas, Grammarly sorts all that out for me, plus it prompts me when I repeat words too much, another bad habit of mine!
I really think that Grammarly is so good that it can do a decent job of replacing a human proofreader.
What is Grammarly?
Grammarly is a standalone service (not a WordPress plugin) that checks the spelling and grammar of anything you enter on the internet. If you use Gmail, it will check errors in your email messages, plus anything you type into Facebook, Twitter etc. will be checked for you.
Grammarly runs as a browser extension and when enabled continuously checks anything you type into a browser text window.
You can also install it into Microsoft Word and have it check all your documents, which is particularly useful when publishing a post directly from Word.
Related reading: How to Publish a WordPress Blog Post From Microsoft Word
Here are the things I like best about Grammarly
- Checks Grammar and spelling as I type
- Suggest synonyms
- Lets me know when I use the passive voice
- Lets me know when I use words repetitively
- Suggests where to put commas, full-stops and semi-colons
- Personal dictionary
And the not so good thing
Grammarly used to work seamlessly with WordPress. Then the Gutenberg editor came along, and the experience wasn’t so good. However, I have a trick to show you that means you can use the full functionality of Grammarly in the new block editor. Read on to find out!
How to install Grammarly
If you don’t already have Grammarly installed in your browser, the first thing you need to do is install it! If you have it working already, then skip to the next section.
Grammarly works on all major browsers, as a browser extension. The method of installation will be different depending on which browser you want to use it with.
Here is a useful page with directions for each browser and OS.
When you have it installed, come back here and let’s carry on with the tour!
You should find that now you have a little green G icon on your browser’s toolbar.
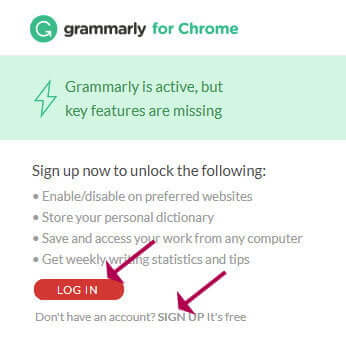
The next step is to log into your Grammarly account or create a new account.
- Click the G icon in the toolbar and then click Log In or Sign Up.
When you have an account, you can start using Grammarly to check the spelling and grammar on your posts.
Now, as a full-time blogger, I felt the need to upgrade to premium. It isn’t absolutely necessary, but I think it was well worth it for the extra features, which are:
- Readability checks
- Vocabulary enhancement suggestions
- Genre-specific writing style checks
- Plagiarism detector that checks more than 16 billion web pages
Grammarly premium is available as a subscription. I purchased upfront for a year to get the best saving which worked out at about $11 per month at the time I bought it. I think this is a steal when you take into account the money you might spend on a human proofreader.
How to use Grammarly with WordPress
Now for the interesting bit!
I’m going to base my tutorial on the new block editor that came with version 5.0 of WordPress. If you don’t have at least WordPress version 5, I thoroughly recommend you upgrade right away.
Related reading: How to Update WordPress the Right Way
You can use these directions on a new post, or one you already published. When I first got Grammarly, I went back through and checked all my old posts; it was very satisfying!
As you type a new block, any errors you make as you go will be underlined by Grammarly, like so:

To correct the spelling, click the word and click the green corrected version underneath.
You can also double-click on individual words to find synonyms, which is great when you find yourself lost for words as I do regularly!
How to get more out of Grammarly (my little trick)
When using Grammarly with the old WordPress editor, it was possible to click the red icon on the bottom right to open up the whole post in the Grammarly editor; from there you could make all the edits according to the suggestions and then automatically update the post when done.
Sadly, that stopped working when the Gutenberg editor came along.
The best that you can do now is to correct each block individually. Another big minus point is that if you have Grammarly premium, you can’t make use of the extra benefits that come with it.
Here is where my hack comes in!. This is what I do instead.
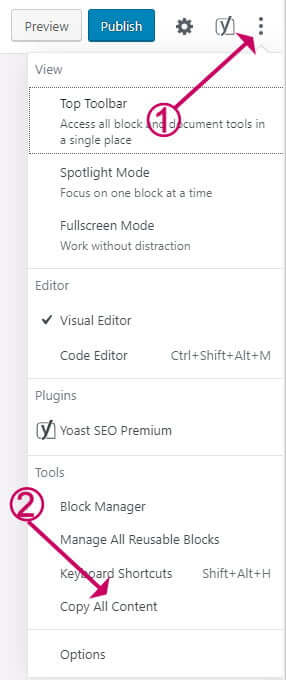
- When you finish your first draft, select Copy All Content from the options menu so that the whole post is now in your clipboard.
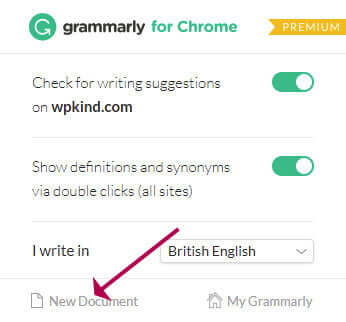
- Click on the Grammarly icon on your browser’s toolbar.
- Then click New Document.
- Paste the post (CTRL+V or CMD+V) into the new document.
- The pasted text will have some markup in it, like this, but Grammarly should ignore the tags and only check the actual text of the post.
<!-- wp:paragraph -->
<p>Now for the interesting bit!</p>
<!-- /wp:paragraph -->- Now make your edits according to those suggested by Grammarly.
- When you finish editing, press CTRL+A or CMD+A to highlight all the text, then press CTRL+C or CMD+C to copy.
- Go back to your WordPress post and delete all the text in the post (CTL+A or CMD+A then DELETE key)
- Paste in the text in that you copied from Grammarly (CTRL+V or CMD+V)
That’s it! You now have fully corrected text.
I like to read through the post afterwards because Grammarly isn’t infallible. I check again, a few hours later or the next morning just to be sure.
Wrapping up
In this post, I have taken you through how to use Grammarly with WordPress, plus the neat trick I found to check the whole post in one go. Hopefully soon we will be able to check everything without having to use this hack, but for the time being, this is what I’ll be doing.
If you find it too bothersome, why not try writing your posts in Microsoft Word? Grammarly will work as a plugin in the Windows version of Word. Then you can publish automatically to WordPress.
I think Grammarly has actually made me much better at spelling and punctuation. I like to give myself a fun challenge to see how few corrections I can make Grammarly can come up with.


