In this tutorial, we will create our own hero section using the Cover block comprising a background image, engaging headline and call to action (CTA) button, that people just can’t help but click!
The CTA could be anything you like:
- a link to a product sales page
- a link to a Facebook group page
- a link to a mailing list sign-up page
- a link to a downloadable freebie
Before the emergence of the WordPress block editor, it wasn’t possible to create a hero section without using a plugin, or some hand-coding.
Whilst a plugin would probably have more fancy options, there are just about enough options available in the Cover block to make it a viable option for us.
The great thing is that once you have created your new block, you could make it reusable, so you could then repeat it in various places on your site. I just love that!
I have a whole post on reusable blocks here.
If you haven’t used the new block editor yet I thoroughly recommend you give it a try. First, make sure you have the latest version of WordPress.
Click here to see all my tutorials on the block editor.
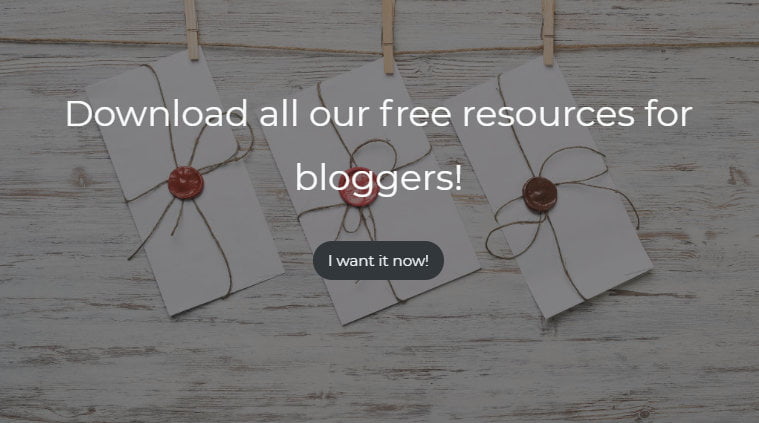
This is what we are aiming for in this tutorial:
[socialpug_tweet tweet=”Create a hero section on your blog without a plugin with this super simple tutorial.”]
Step 1 – Create a new block
- Add a new Cover block to your post by clicking the plus button that appears either side of a block when you mouse over it.
or
- Press Return at the end of a block to start a new block
- Type /cover then press Return again to select
Step 2 – Add the background image
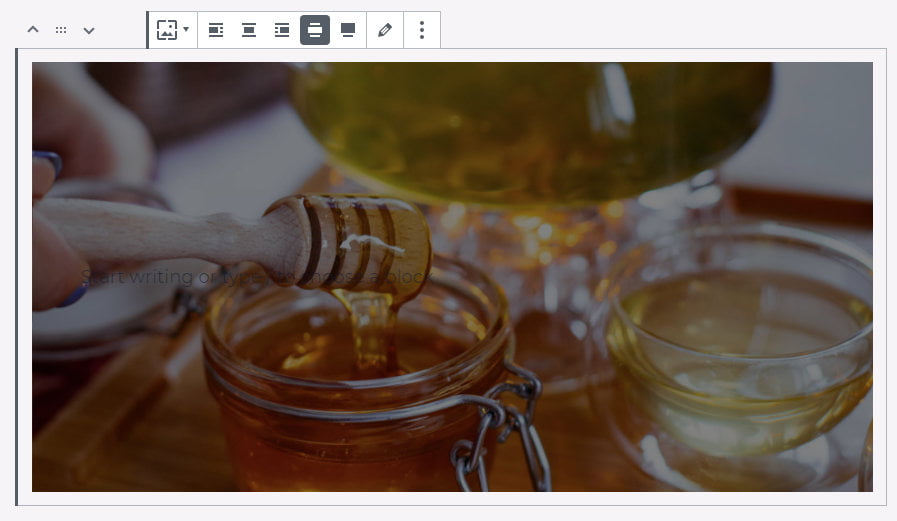
When the new cover block is first created, this is what you should see:
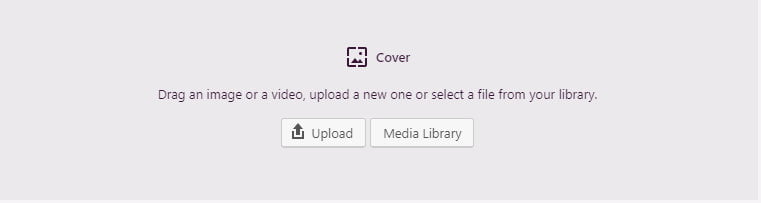
- Drag an image into the block area or
- Click Upload to add a new image from your computer or
- Click Media Library to select one from your library.
The block will then update with your preferred image.
- Click on the block to reveal the toolbar.
- Use the toolbar icons to align the block, left, right, centred, wide or full-width.
Wide width will cause the cover block to span the full post content area.
Full-width will take up the full width of the browser window. This won’t work though if you have a sidebar. Your page or post would need to be set-up to be full width without sidebars. Many themes allow you to do this including GeneratePress.
- When you click on your new Cover block, the Block Setting panel appears on the right-hand side, where you can make a few changes to how the block appears.
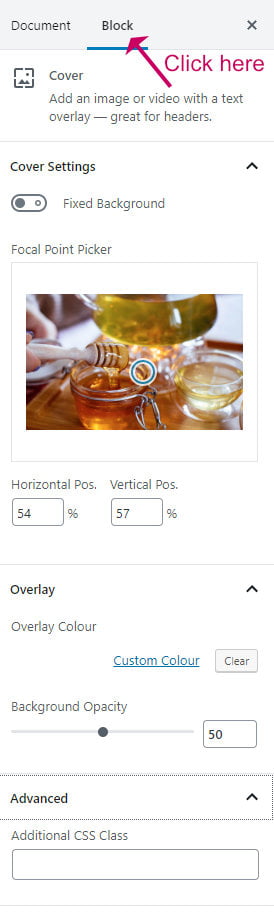
- Fixed Background allows the background to have a parallax effect which causes it to stay fixed behind the overlaid text when scrolled.
- For large images, you can select the Focal Point by moving the circle or entering horizontal and vertical position percentages.
- Using the Overlay Colour setting you can add a colour over the top of the image, useful for making the header/CTA text more readable.
- You can select the opacity of the overlay colour using the Background Opacity setting.
Step 3 – Add a headline
When you are happy with the background, the next step is to add your headline and call to action button.
The area on top of the image is a mini block area, where you can add the following block types:
- Paragraph
- Heading
- Button
I recommend adding the header as a Paragraph block instead of a heading block because there are more settings available, such as changing the colour and font-size.
Hopefully, in a future version, there will be more options available!
Let’s add the header.
- Click on the empty area where it says ‘start writing or type / to choose a block’ (this may be hard to see if the image obscures the writing)
- Choose the paragraph block by typing /paragraph
- Type your text
- Click on the new paragraph block and edit the block settings in the right-hand panel
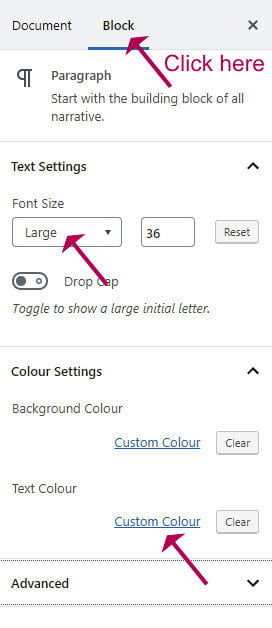
- So that you can see the text properly on top of the image you may want to change the Text Colour.
- Change the Font Size to make it stand out.
This is what we have so far:

Download all our free resources for bloggers!
Step 4 – Add a call to action button
- After the paragraph text, press Return and then type /button
- Enter the URL that you want the CTA to link to or search for a page in your blog.
- Click on the button text and start typing the text for the button, such as ‘I want it now’ or ‘Download here’.
To make changes to the appearance of the button, click it, and then make your changes in the Block Settings panel on the right.
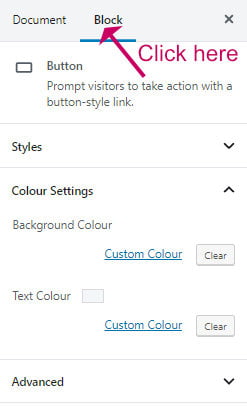
- Change the appearance of the button using the Background Color and Text Colour settings.
- Change the button style to square, outline or rounded using the Styles Panel.

Wrapping up
I always prefer to do things without using a plugin if possible, and this is an ideal chance to do that.
Whilst this method of creating a hero section, has limited options, it is usually enough to do the job of alerting readers to your fantastic offerings. We like to keep things simple here on WPkind!
You could go further by making the block reusable; that way, you won’t need to go through setting it up again. Plus, if you change it later, you will only need to change it once.
See my guide to making a block reusable.
Do let me know in the comments how you get on!


