Every WordPress site or blog needs a theme! When you first install WordPress a default theme will be installed automatically such as Twenty Nineteen, but you can switch it out to anything else that suits.
Once you have your theme installed. You can customise the various parts of the theme using the WordPress Customiser. The level of customisation possible depends on what theme you have. Often free themes don’t allow you to change very much.
How to pick your perfect theme?
If you haven’t yet chosen your theme, it can be a difficult decision because there are thousands of themes to choose from! Many themes are free, some are premium.
For beginners, picking a theme can be an overwhelming choice to make. I have a whole post – How to pick a theme where I simplify the process of choosing a perfect WordPress theme for your blog and make I make some recommendations too.
In summary, the best themes:
- Are premium (or free with a premium upgrade)
- Have great support
- Are highly customisable
Once you have chosen your perfect theme, here is how to install it – How to install a theme.
All of the themes that I recommend make full use of the WordPress customiser. The customiser is actually a relatively new part of WordPress.
Rather than having a separate theme options page where you had to blindly make changes that might actually break the look of your blog, most developers are now integrating all the options into the customiser instead. Which is great for us!
Why?
Because it means that you can now see the effect of your changes immediately. If you don’t like what you see, you can discard with a simple button click, or if you are not ready to put your changes live, save to a draft version and carry on editing later.
How to use the WordPress Customiser
You can find the WordPress customiser under Appearance->Customise from the left-hand menu.
Or, click Customise from the toolbar when viewing your blog.
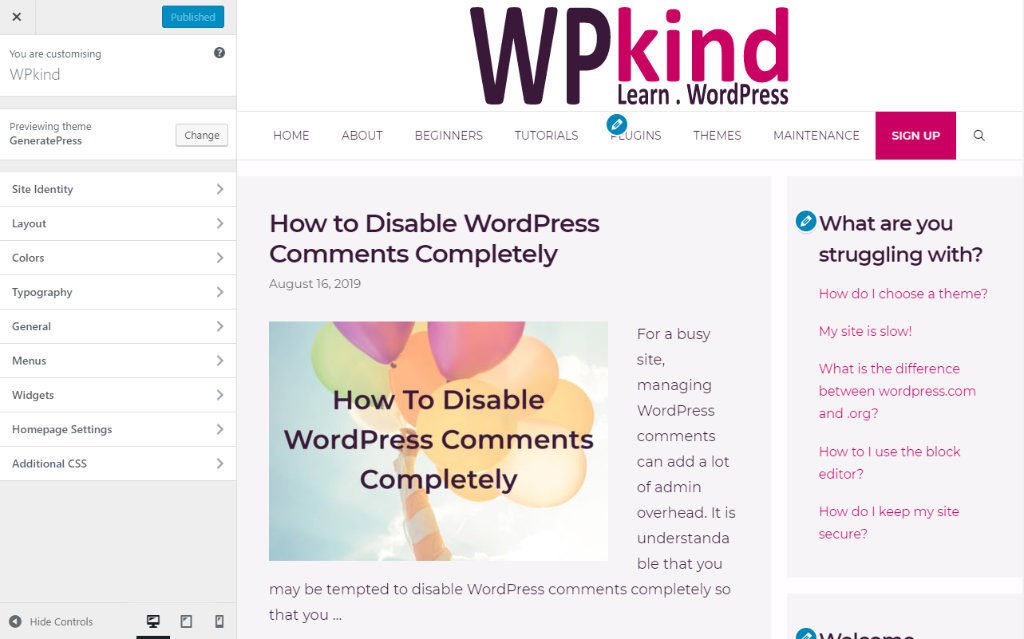
On the left-hand pane, you will see a list of tabs that you can expand for more options. What you see on the list will depend on what theme you have installed.
On the right-hand side, you will see a view of your website. You can click on any links on your site to see how various parts of your site change as you make modifications in the customiser panel on the left. I always like to view a post, for example, when I change how my posts are laid out.
Here, I am running GeneratePress theme (I have a full review of it here). If you are running a different theme, the options you see will be a little different.
If the theme developer has done a good job, then finding elements to edit should be straightforward to locate by drilling down through the options. I strongly recommend that you pop over to the theme developer’s website and read the documentation before you start making changes.
Another way of navigating is by clicking the pencil icon next to any element and you will be taken straight to the correct section of the customiser ready for editing.
For example, if I select the pencil icon that shows up in the sidebar, the customiser panel will jump to the Right Sidebar options and I can make changes to the widgets that appear in it directly. It even opens the first widget for editing for you.
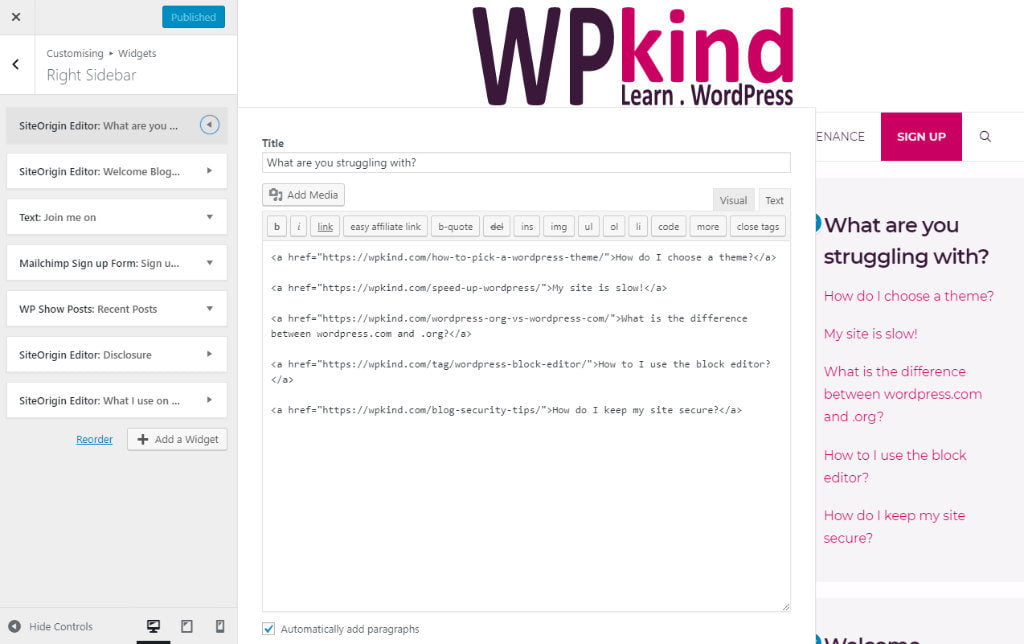
When you have made changes, you will see how they look immediately in the right-hand pane.
When you have finished editing, save your changes by clicking the blue Publish button and then the top left X icon to close the customiser.
But what if you don’t like what you see?
If you are not happy with the changes. or you just wanted to experiment with a different look, simply click the Cog icon next to the Publish button and click Discard Changes.
If you are not ready to put your changes live you can save a draft instead by clicking the cog icon again and this time choosing Save Draft and then continue with your changes at a later time.
A word about mobiles
Mobile responsiveness as you probably know is very important. If you have picked a good theme then it will be responsive by default. The customiser allows you to see your blog in mobile view using the device icons at the bottom of the customiser panel.
Now let’s look at what you can change in the customiser. There are some options that all themes should have.
Changing the theme in the WordPress customiser
You can select a different theme, preview it and then activate right in the customiser.
- Click the Change button
- Select Installed Themes or WordPress.org Themes
- Click on the blue Live Preview button of the theme you would like to use instead
- Navigate through your site on the right to see how the various pages look under the new theme
- Customise the theme settings as described above by navigating through the available options in the left panel, or by clicking the pencil icons that appear within your site preview on the right.
- If you are happy with your new theme click the blue Publish button, or discard the changes by clicking the Cog icon instead.
Changing your blog’s title, logo and tagline
Most themes come with a Site Identity menu option. This is where you can make changes to the title, logo and tagline. Setting these options is one of the essential things that I advise doing at the very start and is detailed in this post – 24 Essential Settings After Installing WordPress.
Not all themes actually display the title and tagline in the header, but they WILL show up in the site’s metadata and it is read by Google, so you should always set this for good SEO.
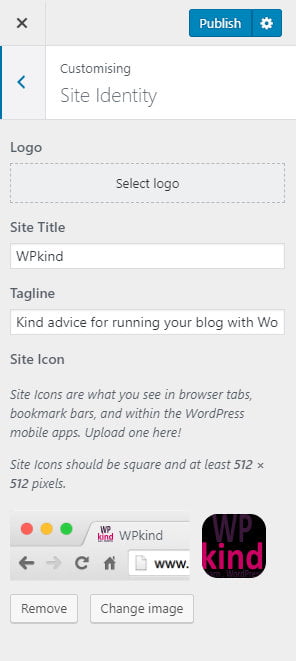
You can also upload a favicon, which a little icon that shows up in the browser tab. The recommended size for a favicon is 200px X 200px as a .jpg, or .png if you need a transparent background for the icon.
Editing the WordPress navigation menu
You can edit the navigation menu by selecting Appearance->Menus from the menu, but you can also edit the menu directly in the customiser too.
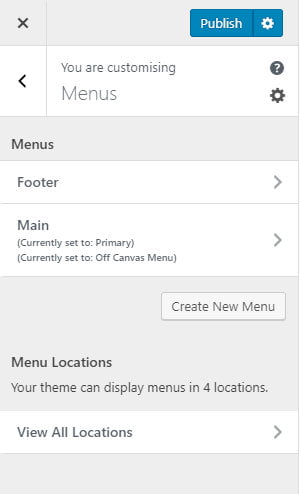
Either select Menu in the left pane, then the name of the menu you wish to edit, or click the pencil icon next to the menu in the right-hand preview pane. From there you can add new menu items, delete and reorder a menu.
I have more information about how to edit menus in my post here – How to Add a WordPress Navigation Menu.
Editing WordPress Widgets
You can make changes directly to the widgets that appear on your site using the Widgets menu. You can also edit widgets by selecting Appearance->Widgets from the admin menu. The advantage of using the customiser is you can see the effect of your changes in the preview pane.
When you open the Widgets menu a list of widget enabled areas will show up. Widget enabled areas are usually the sidebar and/or the footer.
The Twenty Nineteen theme that I show here only has one widget enabled area, and it is the footer.
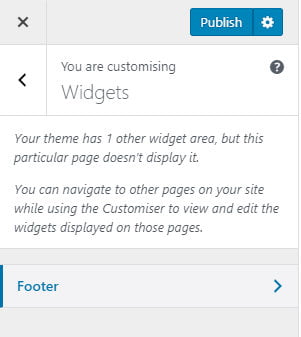
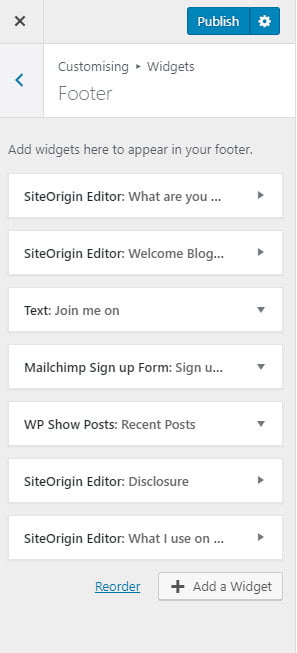
Click on an area, such as Footer, and you can view and edit the widgets that appear there.
You can reorder the widgets using drag and drop. Click on a widget to edit it. As you edit the widget’s options, the preview pane on the left will update as you make the changes.
Changing the WordPress homepage settings
Click Homepage settings on the customiser to edit how to the home page looks
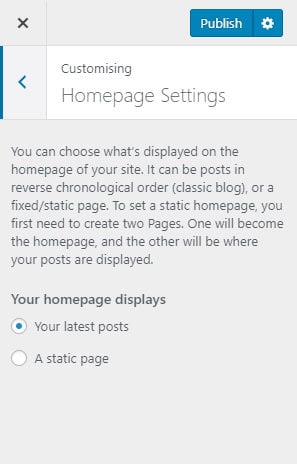
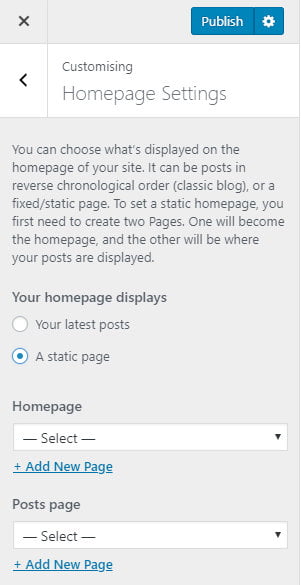
The changes you can make are limited to either showing your latest posts on the home page or a static page.
If you select to show a static page, a drop-down shows up allowing you to select from a list of pages that you have on your site. You can also select which page will show your posts archive.
I usually set my posts page to a blank page I have made called ‘blog’, which would be accessed like this https://example.blog/blog.
Adding Additional CSS to fine-tune
Using the Additional CSS menu option you can insert custom CSS code to further customise your theme in ways that may not be possible using the customiser options.
Unless you know how to code in CSS I would stay away from this option!
However, if you have received support from the theme developer and they have given you some CSS code to add, this is where you would put it.
Wrapping up
In this post I have gone through the steps you can take to change how your site looks using the WordPress customiser. The advantage of using the customiser is that changes you make are immediately reflected in the preview pane. You can then opt to publish or discard change without affecting your live site.
It is difficult to be 100% specific in this tutorial because all themes have different options available and there are many thousands of themes out there.
My advice would be to consult the theme documentation and to raise a ticket with your theme developer if you can’t figure out how to change a particular element.


