In this tutorial I will go through the steps I took to add a contact page to my blog so that you can do it too!
A contact page is an important part of your website because it is a great way for potential advertisers, customers, and readers to get in touch with you easily without you having to publish an email address publicly.

As with many things in WordPress there are several ways to achieve the same thing!
There are a huge number of different contact form plugins in existence. Some premium and many free ones too. It can be a minefield trying to work out the best option to choose.
The method I am going to show you today uses a fantastic and free multi-purpose plugin called Site Origin Widget Bundle. This plugin is very well respected among WordPress users and developers, it has been around a long time and is very solid and reliable. It is also one of my essential, must-install WordPress plugins.
Don’t have time to do this yourself? Or perhaps it all seems too technical? Don’t worry! Let me help you out.
[product id=”6424″]
Here is what we are aiming for in this tutorial:
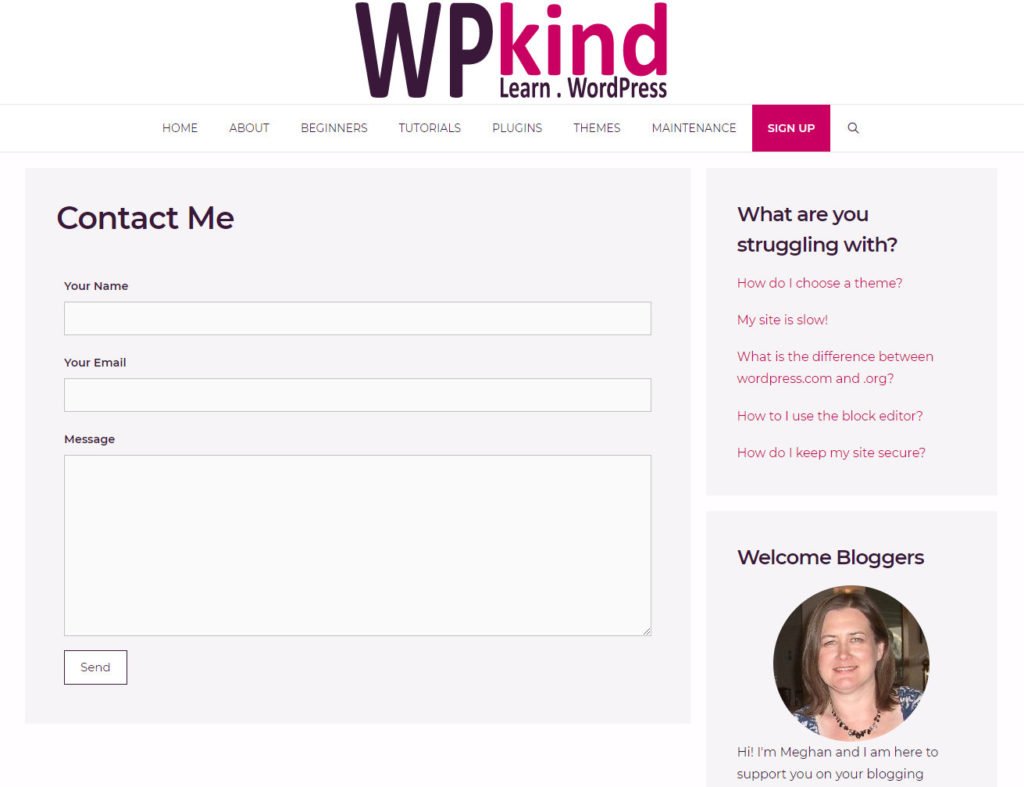
You can see it working for real here.
We will be using the WordPress Gutenberg block editor to make the page. If you are not yet using the new block editor or need help to use it, see my guide:
How To Write a Post With The WordPress Block Editor (Gutenberg).
Step 1 – Install the Site Origin Widget Bundle plugin
The Site Origin Widget Bundle plugin incorporates a fantastic contact form widget which is perfect for our needs.
I’ve mentioned this plugin in other posts because it is one of the essential plugins I always install on any WordPress site.
There is a premium version too, but the the free version is absolutely fine for us at this point.
If you don’t already have the plugin installed. You can download it here.
Not sure how to install a WordPress plugin? See my simple guide to installing a plugin here.
- When you have it installed and activated, you will find a new menu item under Plugins->Site Origin Widgets.
- From there you can activate the various widgets included in the bundle
- Activate the Contact Form widget.
Step 2 – Create a new ‘contact me’ page
- Go to Pages->Add New
- Enter Contact Me in the title
- Click Save Draft
Optional step:
- Click the title again and update the link to Contact ( it’s nice to keep URLs simple 🙂 ).
- Click Save Draft again
Step 3 – Add the contact form widget
- Add a new block by pressing the return key
- Type /site and select Site Origin Widget
- From the drop down box select Contact Form

Step 4 – Configure the new contact form
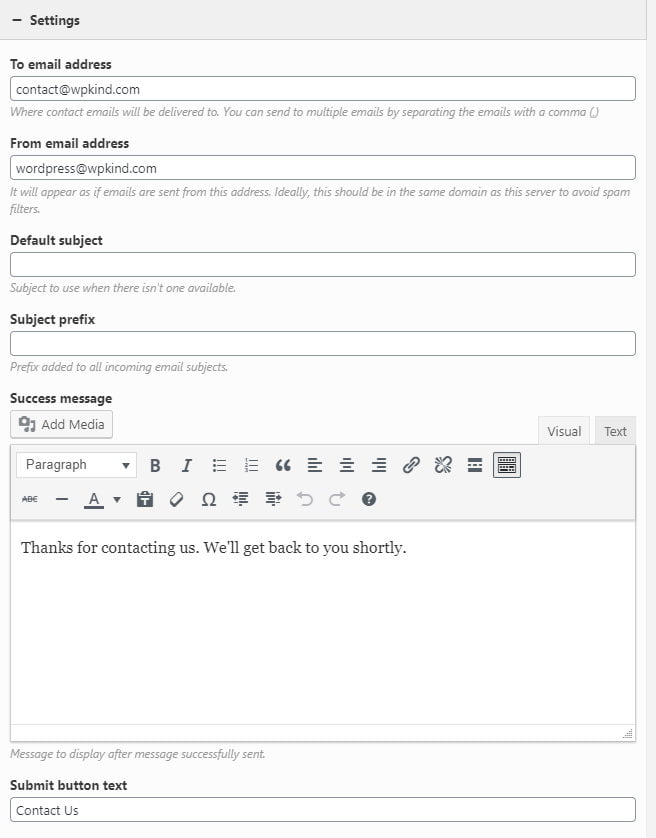
In the Settings drop down panel:
- Set the To email address to the address that new messages will be sent to
- Set the From email address to be an address from your domain so that the email doesn’t get filtered out as spam
- You can also set up the message displayed after form submission and optionally a default subject and prefix for the email so it is easily identifiable in your inbox.
Further down, you can define the input fields that will appear in the contact form.
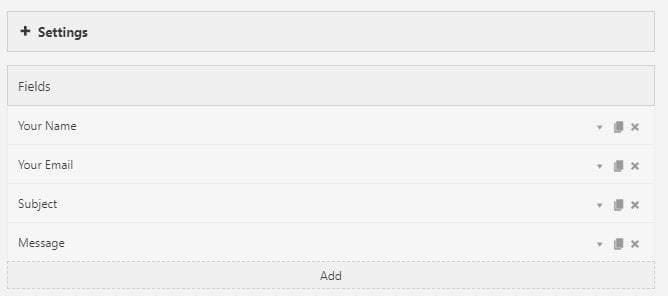
- If you don’t need a Subject field on your contact form, remove it by selecting the X icon.
- You can add additional fields you may need, for example telephone number, by clicking the Add button.
In the Spam drop down panel you can define how the form deals with spam. Spam is unfortunately an inevitable issue with any contact form.
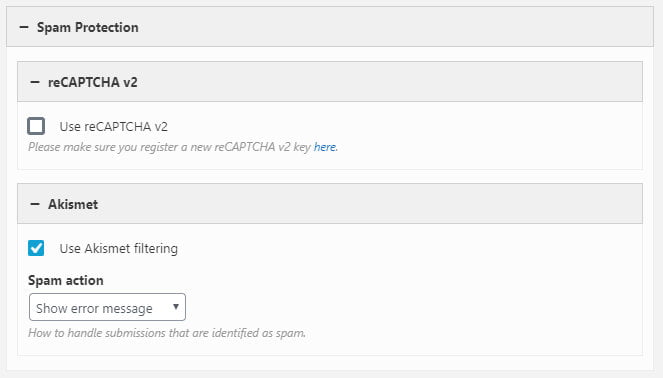
The easiest way to deal with spam is to use the Akismet Spam filtering plugin. If you have this plugin activated, the contact form plugin will filter all form submissions through it. There is no need for your users to click a button to say they are not a robot. I have found this method to work really well.
If you don’t want to use that plugin, though, you can also elect to use Recaptcha instead.
- Click the reCaptcha v2 check box
- If you don’t already have a site key setup, click the here link and pop across to Google to configure a new site for reCaptcha
- Make sure you select reCaptcha v2, as the contact form widget does not currently support v3.
- Copy the Site key and Secret key into the widget settings
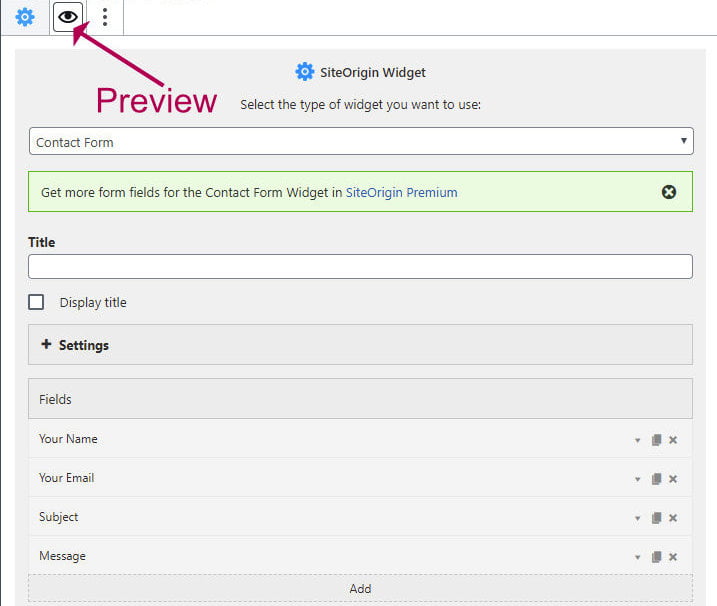
In the Design drop down you can configure how you want the form to be styled.
You can make changes, such as the background colour, font style and size etc.
To see how your form will look click the eye icon at the top of the widget and then the pencil icon to go back to edit mode.
Step 5 – Saving the page and testing
- When you are happy with your new contact form. Save the whole page and then view it.
- Check the form works by completing all the fields and check that you get an email containing the message that you entered.
If you don’t get the email, check you entered the To email address correctly in the contact form settings, and that the From email address is an account in your own domain.
Check the spam folder too.
If you still don’t get email, the best option is to contact your hosting provider because the sendmail function may not be correctly configured on your host server. Mail sending problems are rarely the fault of the contact form itself, usually it is hosting server configuration that is the culprit.
Wrapping up
In this tutorial we have created a ‘contact me’ page on our blog and added a contact form widget from the Site Origin Widget Bundle plugin. The great thing about this plugin, is that now you have it, you can use the other cool widgets it includes without having to install another plugin. Check out the image slider for example, or the call-to-action widget.
From time to time it is a good idea to check your contact form is still working. Sometimes things change on your hosting server that can affect it so it is well worth an occasional test.


