Recently I’ve been looking more closely at what the WordPress editor can do (also known as the Gutenberg editor) and how it can help you to write better posts more quickly and efficiently.
In this post, I reveal the most timesaving tips and tricks I have found plus some surprising things that you may not have discovered.
I’ll admit I wasn’t sure about the new editor at first. When WordPress 5.0 came along, I readily installed the Classic Editor plugin and blissfully continued as before. But I am a converted lady now. I love it and would never go back.
If the Gutenberg block editor is new to you. I have a useful post to get you started with it here: How To Write a Post With The WordPress Block Editor (Gutenberg)
Also, check out this archive page which has lots more posts about the block editor.
Save tonnes of time with REUSABLE blocks
I love, love, love, reusable blocks! Reusable blocks are the biggest timesaver of all. I have a library full of blocks now that I can add to my posts quickly saving loads of precious time.
Here’s are some of the blocks I have in my library:
- Legal disclaimer text I put in all my post that include legal issues in blogging
- Disclosure text that I put in all posts that have affiliate links
- Various hero blocks I use to advertise other posts
- My mid-post opt-in form
- Click to tweet
Sometimes I use a reusable block to start me off quickly, such as the click to tweet block I made.
Any block can be made reusable by selecting Add to Reusable Blocks from the block’s menu.
Enter a name, for the block to save it, and then you can select the block again and use it anywhere else on the post or in another post.
Even more exciting, I recently discovered you could make a group of blocks into one big reusable block, which I talk about a bit later, so make sure you read on!
Related reading: How to Use Reusable Blocks in WordPress Block Editor (Gutenberg)
Quickly copy the whole post
I find the Copy All Content option so useful for making a new post out of an old one, or for saving my post out to another app like Notepad for safekeeping while I’m working on it.
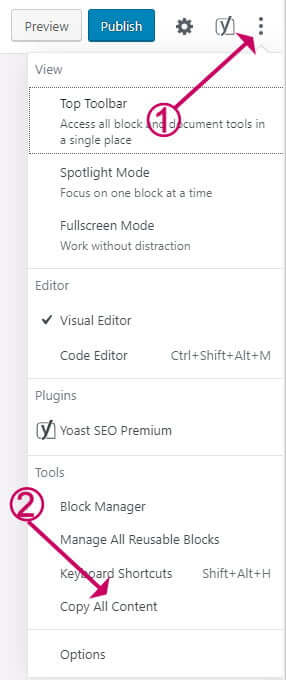
WordPress saves the whole post content to your clipboard which you can then paste anywhere, such as Notepad, or to another post.
Update: I’ve recently found another use for this!
If you are a Grammarly user you will know that it doesn’t play nicely with the block editor.
Here’ a little trick to make it work:
- Click Copy all content from the option as shown above
- Click the Grammarly icon in your browser toolbar
- Click New Document
- Paste the copied content into the new document. The text will have extra markup such as <p> and <a> tags etc. but Grammarly ignores them so it’s fine
- Correct the spelling and grammar using Grammarly
- When done, copy all content (CTRL+A then CTRL+C) from Grammarly
- Go back to your post
- CTRL+A then delete key to delete everything
- Paste the text in from Grammarly
Create a hero section in no time at all
The ability to create hero sections is an excellent little trick I discovered.
You can do this with the Cover block.
Select a background, add some text and a button, and you have yourself a simple little hero section.
Here’s one I made earlier:

Find out exactly how to do this here: How To Create a Hero Section In WordPress – Without a Plugin
Type posts super-quickly with these keyboard shortcuts
I love keyboard shortcuts, they save so much time! I’m a big keyboard user, in fact, I don’t actually use a mouse, but that’s another story!
Here are shortcuts I use most frequently. They allow me to knock out posts super quickly.
- CTRL+K Add a link to the selected text to add a link
- CTRL+V Paste a link onto the selected text
- CTRL+B Make the selected text bold
- CTRL+I Make the selected text italic
- CTRL+Z Undo (I probably use this the most!)
- SHIFT+ALT+Z Delete a block
- ENTER at end of a block to create a new block, then /[type block type]
- ## [space] on a new block for a heading 2
- ### [space] on a new block for a heading 3
- 1. [space] on a new block for a numbered list
- – [space] on a new block for a bulleted list
Reduce ‘noise’ by decluttering your workspace
If you are the type of person who likes a tidy desktop, this one is for you.
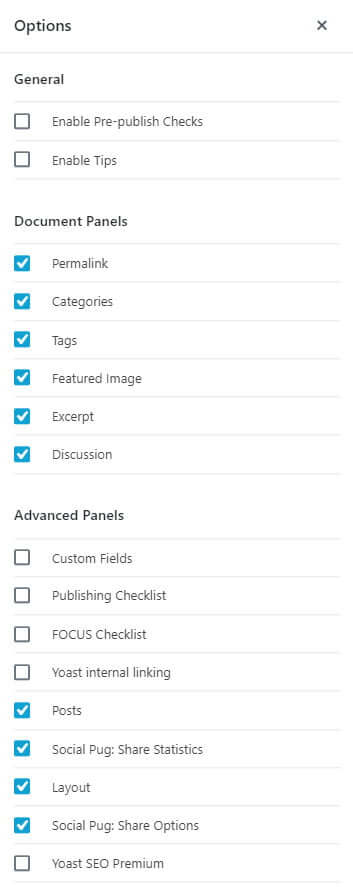
Reduce distractions and streamline your workspace by switching off panels you don’t use.
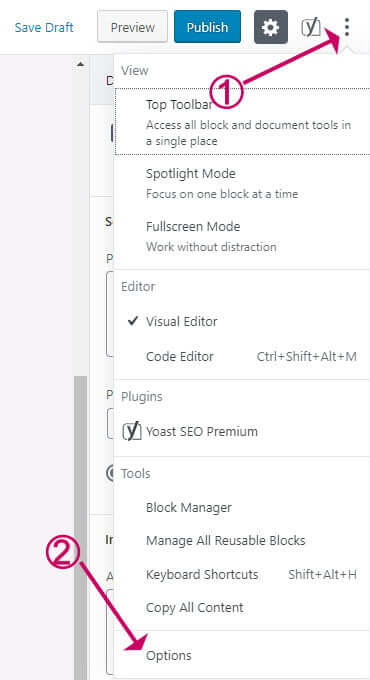
- Click on the top right three dots
- Select Options
- Then click the checkboxes to toggle the panels on and off.
Make your posts perform better by adding widgets
For me, one of the greatest selling points of the editor was the ability to add widgets right into posts! Previously the only way of adding anything out of the ordinary was via a shortcode, which is very unintuitive.
Let me show you what I mean.
The MailChimp for WordPress plugin, for example, lets you create opt-in forms. It has a widget, which means I can put an opt-in I created previously directly into my blog post, by simply selecting the opt-in form I want from the drop-down.
I like to add an opt-in right in the middle of posts because I get more sign-ups that way.
Depending on what plugins you have installed you may have lots more widgets available to you than you realise. Take a look at the list.
Make your blog posts pop with Elementor
This is the latest thing I discovered and it is so amazing!
With the Elementor Pro page builder plugin, you can create reusable sections (Elementor calls them templates) which you can use anywhere on your website with a shortcode ( I hope to be writing a whole new blog post on this because it is so powerful).
If you also install the free plugin from Elementor called Elementor Blocks for Gutenberg you can add your templates directly into a blog post or page via a widget rather than a shortcode.
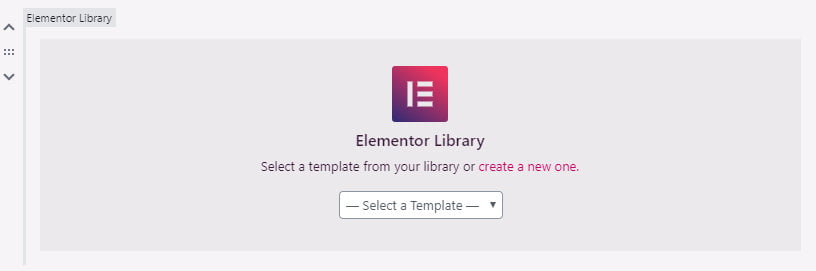
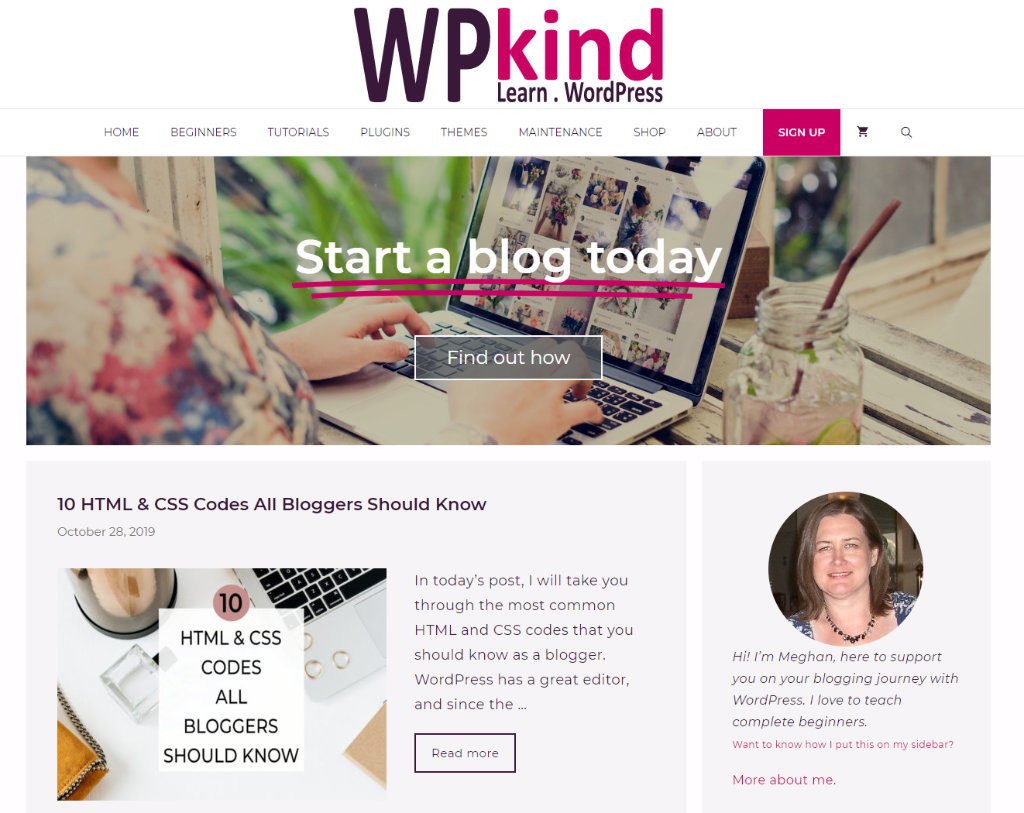
Here is an Elementor section I created recently to promote my ‘start a blog’ post.

You can put templates anywhere on your blog using the shortcode or the Elementor widget.
Currently, I have the advert at the top of my home page. I did this by creating a hook element in my theme – GeneratePress.
Create a ‘related posts’ section with the latest posts blocks
The Latest Posts block provides a super-quick way of listing posts for a category, saving you from having to add the links manually.
The perfect place to use it is in a related posts section at the bottom of your post.
Here is an example:
- How To Start A Money Making Blog From Complete Scratch In 2022
- 24 Essential Settings After Installing WordPress
- How To Use Mailerlite Email Marketing With WordPress
- How To Avoid Missed Scheduled Posts
- Two Ways To Check Spelling And Grammar In Your Blog Posts
There is no option to add post thumbnails yet, hopefully, that functionality will come soon. It would also be nice to have the option to filter the list by tag too.
Format posts with ease using the column block
The Columns block allows you to add structure to your posts. This is something that was pretty much impossible to do in the old editor without using a page builder plugin.
Columns look great on mobile too, stacking nicely on small screens.
You can place any kind of block inside the column such an image or text and you can change the number of columns in the block settings
Here is an example of a two-column block:
Save tonnes of time with REUSABLE blocks

Quickly copy the whole post

Edit the block’s HTML for more control
It is very useful to be able to view and edit the HTML of a block sometimes.
My favourite trick is to add a button class to a link to turn it into a button. I prefer to do this than to use the button block because the button is then styled like all the other buttons on my blog automatically.
To view a block as HTML select Edit as HTML from the block’s options menu and then Edit Visually to go back.
Here’s an example of a link transformed to a button
<a class="button" href="https://wpkind.com/how-to-start-a-money-making-blog/">How to start a blog</a>Related post: 10 HTML & CSS Codes All Bloggers Should Know
Working with groups of blocks
Now, I only discovered this recently doh!
When you highlight more than one block by clicking and dragging, the icon on the top left changes to a group symbol and you can manipulate the blocks as one.
Magic!
You can duplicate, and delete the group, plus you can make the whole group into one big reusable block.
Quickly convert a classic block to individual blocks
This is especially useful when converting an old classic style blog post to the new Gutenberg block editor.
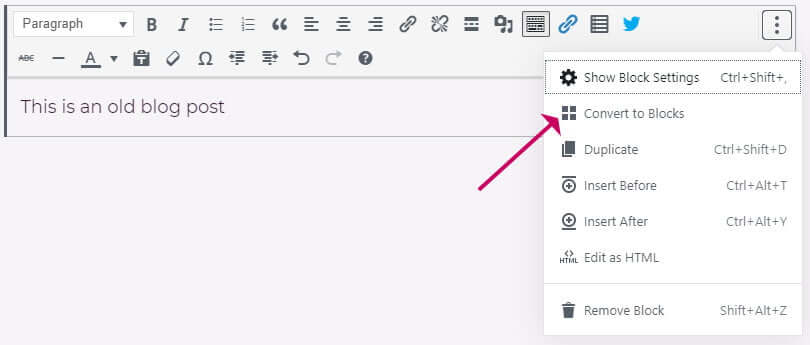
When you open an old post in the new editor, the whole post is one big Classic Editor type block. You can leave it like that if you want to, but to make full use of the new editor, it’s better to convert it to individual blocks.
Select Convert to Blocks from the block menu and magically each element of the post is placed in a separate block.
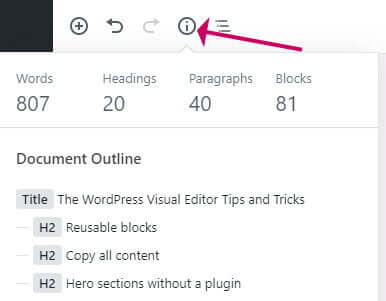
View the overall structure of a post
In the top toolbar, use the i icon to view the structure of your whole post and quickly jump to specific parts.
I find this really useful for getting an overall view of the post layout.
Wrapping up
In this post, I have taken you through the most time-saving and user enhancing aspects of the WordPress block editor that I know.
I’m expecting much more functionality to be added as the block editor is further developed, but so far I’m loving it!
If you have recently discovered something interesting let me know in the comments below, I would love to hear.


